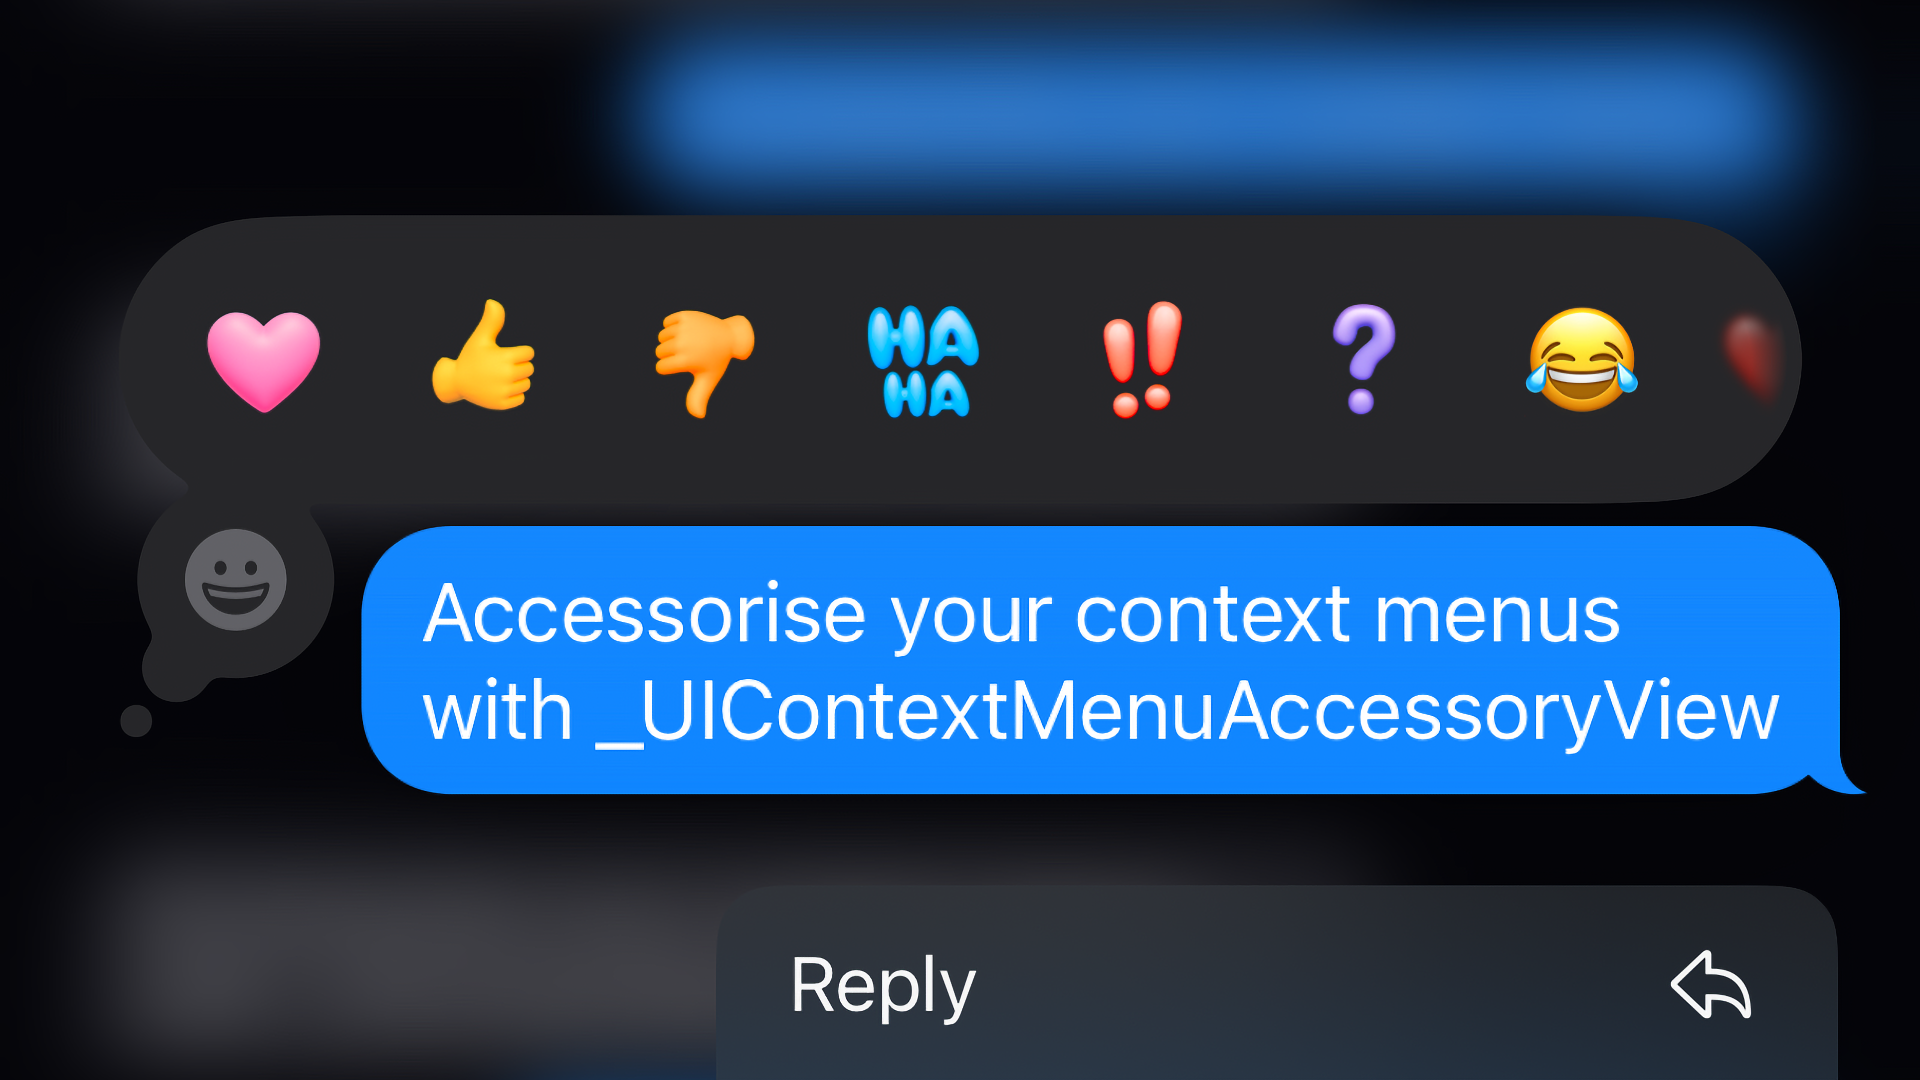
Recently, I wrote about how to jazz up your context menu interactions using private UIMenu APIs. I thought I'd done a pretty thorough job of covering the APIs (that aren't) available to us, but it turns out context menus have some more tricks up their sleeves...
In iOS 10, Apple introduced Tapback in Messages. This feature allows you to respond quickly to messages with a selection of reactions, such as a heart or a thumbs up and, in iOS 18, any Emoji. Apple's UI for this is pretty nifty, you double tap on a message and up comes the CKTapbackPickerViewController. The same UI can also be accessed by pressing and holding on the message, thanks to a UIContextMenuInteraction associated with the chat bubble's collection view cell. And there lies our problem...
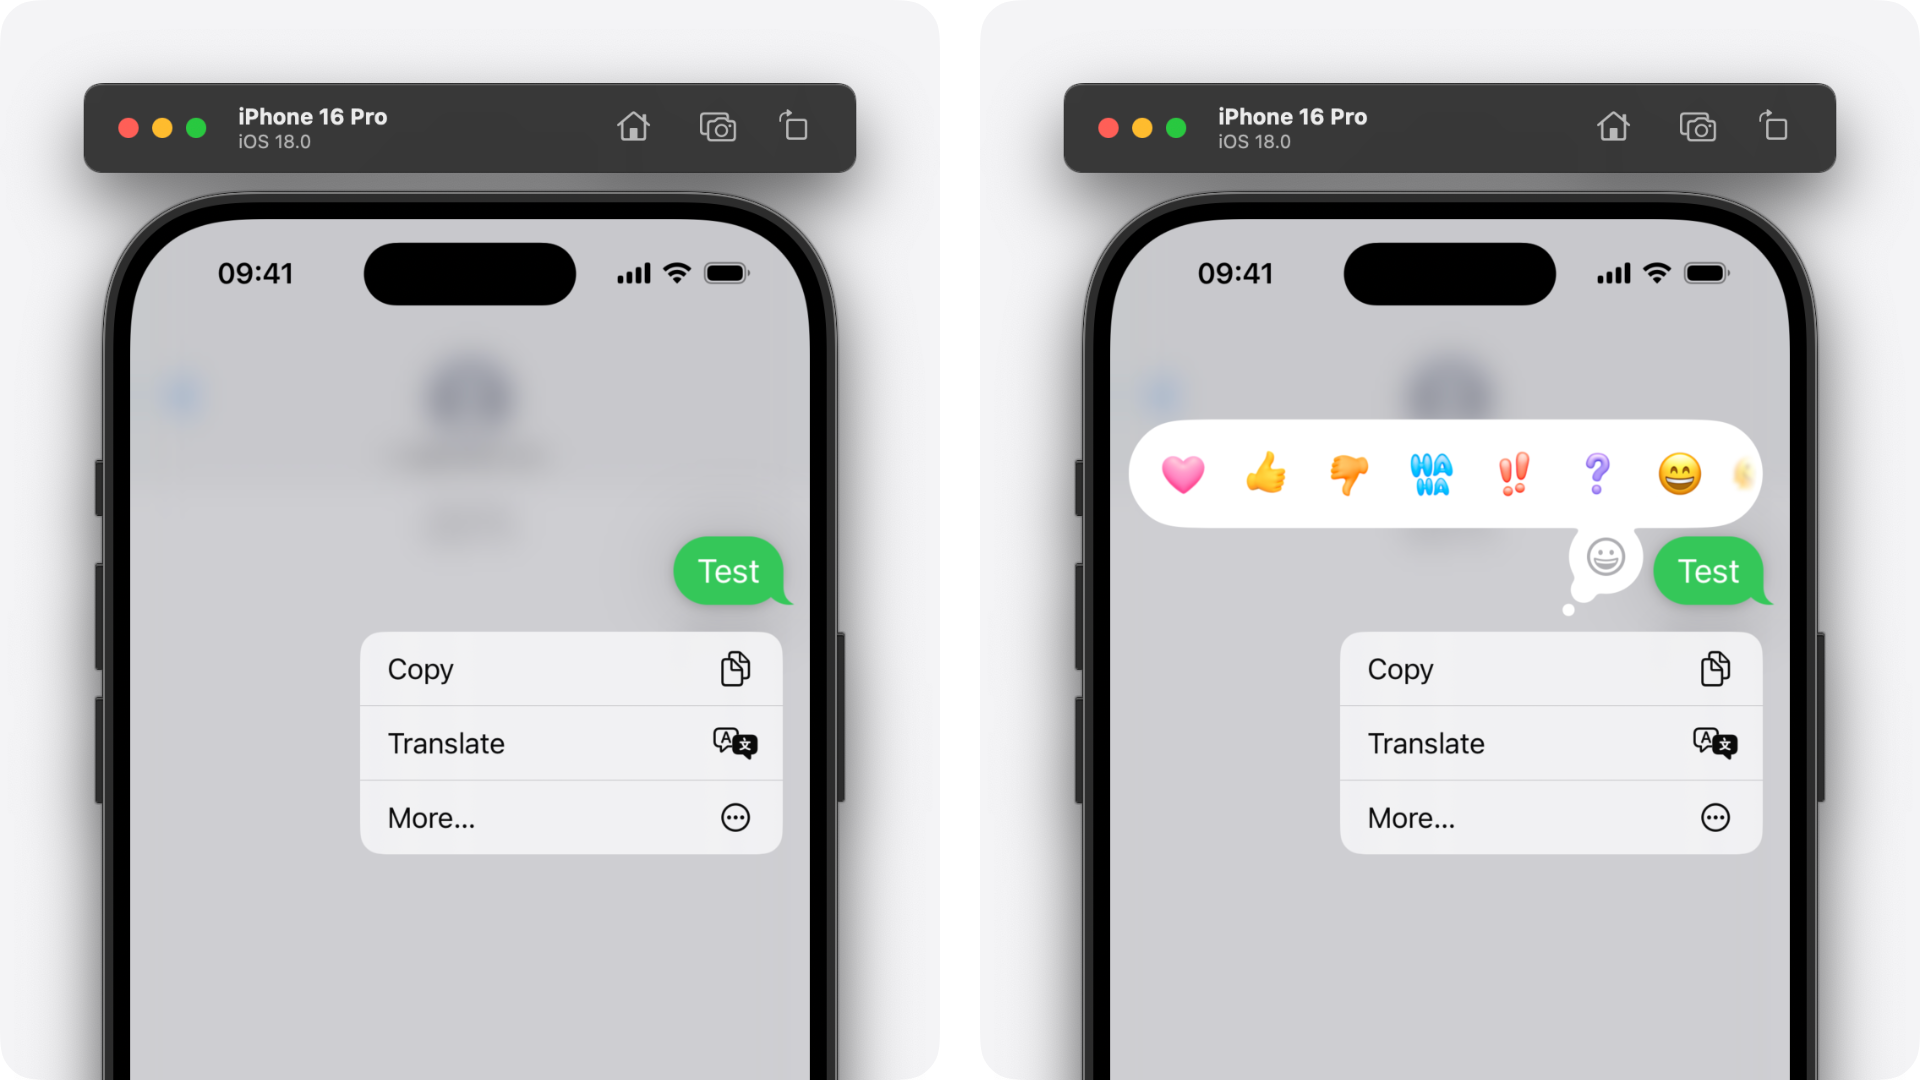
UIKit's context menu interaction allows you to present a UIMenu alongside an associated view, but how does Messages present a custom view as well? For clarification, here's a side by side of what we can achieve using public API versus what Apple does in the Messages app.
There are two solutions that I've seen many of your favourite apps implement...
- Roll your own context menu interaction, including gestures, background blurs, transforms and somehow keeping the source view on top of everything else without using
_UIPortalView. Oh! And, on top of that, build an entirely custom (although never very convincing) copy of the context menu itself! - When UIKit's
_UIContextMenuContainerViewappears, traverse the view hierarchy, add your own custom view, try and constrain it to the right subview, and hope Apple's implementation of context menus never changes because this whole thing will fall apart...

The solution? _UIContextMenuAccessoryView.
_UIContextMenuAccessoryView
_UIContextMenuAccessoryView is a private UIKit class that lets you add accessory views to your context menu - who'd have guessed? It's a relatively simple UIView subclass with a few properties of interest, location, trackingAxis, offset and anchor. We'll circle back to these properties later - first, let's get a simple implementation up and running.
For the sake of brevity and keeping these code samples readable, I'm going to use an Objective-C bridging header to redefine the interface for this private class. But worry not, at the end of this article, there's a link to a GitHub repository with two branches: one with the complete Objective-C bridging header code, and one written (almost) entirely in Swift using runtime hacks like NSClassFromString(_:) and friends.
If you want to follow along but aren't familiar with how to create a bridging header, just add a new Objective-C File (.m) to your project, and Xcode will offer to create a bridging header for you! You can delete the .m file afterwards.
Let's get started!
Here's a simple definition for _UIContextMenuAccessoryView that we'll expand upon later...

@interface _UIContextMenuAccessoryView :UIView
@end
In Swift, we can now use this class like any UIView subclass...

let accessoryView =_UIContextMenuAccessoryView ()
accessoryView.backgroundColor = .systemPurple
accessoryView.addSubview (... )
So how do we get this to show up in our context menu? Another private UIKit API!
UIContextMenuInteractionDelegate_Private
For internal framework features, UIKit has an interesting pattern; a secondary delegate protocol definition, the name of which is often suffixed with "_Private". For example, UICollectionViewDelegate and UICollectionViewDelegate_Private. And, in this case, UIContextMenuInteractionDelegate and UIContextMenuInteractionDelegate_Private.
UIContextMenuInteractionDelegate_Private has one particular method of interest, _contextMenuInteraction(_:accessoriesForMenuWithConfiguration:). If we implement this method, we can return an array of _UIContextMenuAccessoryViews and UIKit will take care of the rest!
Below is some pretty standard code for creating a context menu interaction. We create an instance of UIContextMenuInteraction using the init(delegate:) initialiser. Whichever object we pass as the delegate argument has to conform to the UIContextMenuInteractionDelegate protocol which, at a minimum, has to implement the contextMenuInteraction(_:configurationForMenuAtLocation:) method. We then call the addInteraction(_:) method on some UIView and pass it our context menu interaction.
class ViewController :UIViewController ,UIContextMenuInteractionDelegate {
var chatBubble :UIImageView !
override func viewDidLoad () {
super .viewDidLoad ()
chatBubble =UIImageView ()
// ...
let interaction =UIContextMenuInteraction (delegate :self )
chatBubble .addInteraction (interaction)
}
func contextMenuInteraction (_ interaction:UIContextMenuInteraction ,configurationForMenuAtLocation location:CGPoint ) ->UIContextMenuConfiguration ? {
return UIContextMenuConfiguration (actionProvider : {
// ...
})
}
}
Now, let's implement _contextMenuInteraction(_:accessoriesForMenuWithConfiguration:). But, how? We don't have access to the UIContextMenuInteractionDelegate_Private protocol definition? Once again, Objective-C weirdness saves the day!
Below is a simple example of how an Objective-C object would call one of its delegate methods. It's far less elegant than the Swift alternative, but stay with me!

#import <UIKit/UIKit.h>
@implementation CustomView
- (void )layoutSubviews {
[super layoutSubviews ];
if (self .delegate ==nil ) {
return ;
}
if ([self .delegate respondsToSelector :@selector (customView:didLayoutSubviews:)]) {
[self .delegate customView :self didLayoutSubviews :[self subviews ]];
}
}
@end
Here's what's going on...
- First, we check that the pointer to the
delegateobject is notnil. - Then we check that our delegate actually implements the method we're about to call with a
respondsToSelector:check. We need to do this as, unlike Swift, Objective-C doesn't offer a compile-time guarantee that an object conforming to a protocol actually...conforms to that protocol. If we blindly call that method, we could cause a crash.
This is a very common pattern in Objective-C. So common, in fact, that this is exactly how Apple implements their delegate pattern in many places.
Here's the one line we can take advantage of...
if ([self .delegate respondsToSelector :@selector (customView:didLayoutSubviews:)]) {
This check will return YES regardless of wether or not our object explicitly states delegate protocol conformance, providing we actually implement that method. In the context of UIContextMenuInteractionDelegate_Private, this would be the _contextMenuInteraction(_:accessoriesForMenuWithConfiguration:) method. So let's do that!
class ViewController :UIViewController ,UIContextMenuInteractionDelegate {
// ...
@objc func _contextMenuInteraction (_ interaction:UIContextMenuInteraction ,accessoriesForMenuWithConfiguration configuration:UIContextMenuConfiguration ) -> [_UIContextMenuAccessoryView ] {
}
}
The only thing of note here is that we need to prefix our method with the @objc attribute. This makes the method accessible to Objective-C code. Without this attribute, the respondsToSelector: would fail and our method would not be called.
From here, we just need to return an array of _UIContextMenuAccessoryViews.
class ViewController :UIViewController ,UIContextMenuInteractionDelegate {
// ...
@objc func _contextMenuInteraction (_ interaction:UIContextMenuInteraction ,accessoriesForMenuWithConfiguration configuration:UIContextMenuConfiguration ) -> [_UIContextMenuAccessoryView ] {
let accessoryView =_UIContextMenuAccessoryView ()
accessoryView.layer .cornerRadius =32
accessoryView.layer .cornerCurve = .continuous
accessoryView.frame .size =CGSize (width :300 ,height :64 )
accessoryView.backgroundColor =UIColor (resource : .tapbackBackground)
return [accessoryView]
}
}
Here's what that yields...

Not a bad start, but we can do better!
Location, Location, Location
As you can see, we've got our context menu accessory view up and running, but it might not be exactly where you want it. Helpfully, _UIContextMenuAccessoryView has a few handy properties that let us manipulate where it's placed on-screen: location, anchor, offset and trackingAxis.
Let's start with location. This is a simple integer value that lets us dictate roughly where we want our accessory view placed. The acceptable values are as follows...
| Value | Location |
|---|---|
| 0 | The default location. Places the accessory view in the empty area around the source view and context menu. |
| 1 | Places the accessory view over or around the source view. |
| 2 | Places the accessory view over or around the context menu. |
Here's an Objective-C enum representing the values above that we can put in our bridging header...
typedef NS_ENUM (NSInteger ,_UIContextMenuAccessoryViewLocation ) {
_UIContextMenuAccessoryViewLocationDefault =0 ,
_UIContextMenuAccessoryViewLocationPreview =1 ,
_UIContextMenuAccessoryViewLocationMenu =2
}NS_SWIFT_NAME (_UIContextMenuAccessoryView.Location);
// ...
While we're at it, let's update our definition of _UIContextMenuAccessoryView...
// ...
@interface _UIContextMenuAccessoryView :UIView
@property (assign ,nonatomic )_UIContextMenuAccessoryViewLocation location ;
@end
Now, back in Swift, we can set the new location property as you would any other property of this class...
class ViewController :UIViewController ,UIContextMenuInteractionDelegate {
// ...
@objc func _contextMenuInteraction (_ interaction:UIContextMenuInteraction ,accessoriesForMenuWithConfiguration configuration:UIContextMenuConfiguration ) -> [_UIContextMenuAccessoryView] {
let accessoryView =_UIContextMenuAccessoryView ()
accessoryView.location = .preview
// ...
return [accessoryView]
}
}
Here's what a location of .preview yields...

Progress! But still not quite what we want. That leads us to the next property of interest, anchor. This property describes how the accessory view should be anchored to the location. In the UIKitCore header file I exported from Hopper, the type of this property should be a struct named anonymous_type_625. Here's the type definition of said struct...
struct anonymous_type_625 {
unsigned long long field_1;
unsigned long long field_2;
double field_3;
double field_4;
long long field_5;
};
Not super helpful. Fortunately, _UIContextMenuAccessoryView's anchor property is non-nullable, and a default value is provided when the accessory view is initialised. Therefore, we can use LLDB and a handy method declared in an NSObject category in UIKitCore, called _ivarDescription. This method is able to parse C's struct encoding and display the data in a human-readable format, rather than the usual {length = 40, bytes = 0x01000000 00000000 02000000 00000000 ... 00000000 00000000 } nonsense LLDB spits out.
(lldb) po [0x1064139c0 _ivarDescription]
<_UIContextMenuAccessoryView: 0x1064139c0>:
in _UIContextMenuAccessoryView:
_location (unsigned long): 0
_trackingAxis (unsigned long): 0
_offset (struct CGPoint): 0
_anchor (struct ?): {attachment (unsigned long): 0
alignment (unsigned long): 0
attachmentOffset (double): 0
alignmentOffset (double): 0
gravity (long): 0
}
If you want to try this yourself, the memory address of your context menu accessory view will, of course, vary. You can use Xcode's View Hierarchy Debugger or a well placed print() statement to fish this out at runtime.
We now know what our anchor struct should look like, so back in our bridging header, let's redefine this struct along with a couple of handy enums for better code readability...
// ...
typedef NS_ENUM (NSInteger ,_UIContextMenuAccessoryViewAttachment ) {
_UIContextMenuAccessoryViewAttachmentCenter =0 ,
_UIContextMenuAccessoryViewAttachmentTop =1 ,
_UIContextMenuAccessoryViewAttachmentLeading =2 ,
_UIContextMenuAccessoryViewAttachmentTrailing =3 ,
_UIContextMenuAccessoryViewAttachmentBottom =4
}NS_SWIFT_NAME (_UIContextMenuAccessoryView.Attachment);
typedef NS_ENUM (NSInteger ,_UIContextMenuAccessoryViewAlignment ) {
_UIContextMenuAccessoryViewAlignmentLeading =2 ,
_UIContextMenuAccessoryViewAlignmentTrailing =8
}NS_SWIFT_NAME (_UIContextMenuAccessoryView.Alignment);
typedef struct {
_UIContextMenuAccessoryViewAttachment attachment ;
_UIContextMenuAccessoryViewAlignment alignment ;
double attachmentOffset ;
double alignmentOffset ;
long long gravity ;
}_UIContextMenuAccessoryViewAnchor NS_SWIFT_NAME (_UIContextMenuAccessoryView.Anchor);
// ...
A couple of things to note...
- I've named the struct
_UIContextMenuAccessoryViewAnchor, but you can call this anything. C just needs the memory layout to be identical to that of the struct it's expecting to receive. - There are other valid raw values of the alignment enum, but it's not entirely clear what they do and, looking at the disassembly, there seems to be some duplicates.
We'll also need to update our definition of _UIContextMenuAccessoryView to include a new anchor property...
// ...
@interface _UIContextMenuAccessoryView :UIView
@property (assign ,nonatomic )_UIContextMenuAccessoryViewLocation location ;
@property (assign ,nonatomic )_UIContextMenuAccessoryViewAnchor anchor ;
@end
Back in Swift, I'm going to create a convenience initialiser for this new struct as, for the Messages Tapback picker effect, we don't need to worry about the anchor's attachmentOffset, alignmentOffset and gravity properties.
extension _UIContextMenuAccessoryView .Anchor {
init (attachment :_UIContextMenuAccessoryView .Attachment ,alignment :_UIContextMenuAccessoryView .Alignment ) {
self .init (attachment : attachment,alignment : alignment,attachmentOffset :0 ,alignmentOffset :0 ,gravity :0 )
}
}
Let's update our _contextMenuInteraction(_:accessoriesForMenuWithConfiguration:) method and assign a value to our new anchor property...
class ViewController :UIViewController ,UIContextMenuInteractionDelegate {
// ...
@objc func _contextMenuInteraction (_ interaction:UIContextMenuInteraction ,accessoriesForMenuWithConfiguration configuration:UIContextMenuConfiguration ) -> [_UIContextMenuAccessoryView] {
let accessoryView =_UIContextMenuAccessoryView ()
accessoryView.location = .preview
accessoryView.anchor =_UIContextMenuAccessoryView .Anchor (attachment : .top ,alignment : .trailing )
// ...
return [accessoryView]
}
}
Here's what that yields...

We're getting there! The next property of _UIContextMenuAccessoryView that we'll explore is offset - this does exactly what it says on the tin. We provide a CGPoint and our accessory view is offset on the x and y axis by those values respectively. Let's update our bridging header...
// ...
@interface _UIContextMenuAccessoryView :UIView
@property (assign ,nonatomic )_UIContextMenuAccessoryViewLocation location ;
@property (assign ,nonatomic )_UIContextMenuAccessoryViewAnchor anchor ;
@property (assign ,nonatomic )CGPoint offset ;
@end
Back in Swift, we can adjust the offset like so...
class ViewController :UIViewController ,UIContextMenuInteractionDelegate {
// ...
@objc func _contextMenuInteraction (_ interaction:UIContextMenuInteraction ,accessoriesForMenuWithConfiguration configuration:UIContextMenuConfiguration ) -> [_UIContextMenuAccessoryView] {
let accessoryView =_UIContextMenuAccessoryView ()
accessoryView.location = .preview
accessoryView.anchor =_UIContextMenuAccessoryView .Anchor (attachment : .top ,alignment : .trailing )
accessoryView.offset =CGPoint (x : -3 ,y : -16 )
// ...
return [accessoryView]
}
}
These values, -3 and -16, are values I've fished out from Apple's Tapback UI in Messages. Here's what that looks like...

There's one more property of _UIContextMenuAccessoryView that we're going to play with, trackingAxis. What does this do? You may have noticed that moving your touch while in a context menu...context causes the source view to move around with your finger. At the moment, our accessory view won't do this, unless we explicitly tell it to by setting the trackingAxis property.
In our bridging header, we're going to create a new option set...
// ...
typedef NS_OPTIONS (NSInteger ,_UIContextMenuAccessoryViewTrackingAxis ) {
_UIContextMenuAccessoryViewTrackingAxisNone =0 ,
_UIContextMenuAccessoryViewTrackingAxisXAxis =1 <<0 ,
_UIContextMenuAccessoryViewTrackingAxisYAxis =1 <<1
}NS_SWIFT_NAME (_UIContextMenuAccessoryView.TrackingAxis);
// ...
Now, to update _UIContextMenuAccessoryView...
// ...
@interface _UIContextMenuAccessoryView :UIView
@property (assign ,nonatomic )_UIContextMenuAccessoryViewLocation location ;
@property (assign ,nonatomic )_UIContextMenuAccessoryViewAnchor anchor ;
@property (assign ,nonatomic )CGPoint offset ;
@property (assign ,nonatomic )_UIContextMenuAccessoryViewTrackingAxis trackingAxis ;
@end
Back in Swift, we can now use this property like so...
class ViewController :UIViewController ,UIContextMenuInteractionDelegate {
// ...
@objc func _contextMenuInteraction (_ interaction:UIContextMenuInteraction ,accessoriesForMenuWithConfiguration configuration:UIContextMenuConfiguration ) -> [_UIContextMenuAccessoryView] {
let accessoryView =_UIContextMenuAccessoryView ()
accessoryView.location = .preview
accessoryView.anchor =_UIContextMenuAccessoryView .Anchor (attachment : .top ,alignment : .trailing )
accessoryView.offset =CGPoint (x : -3 ,y : -16 )
accessoryView.trackingAxis = [.xAxis , .yAxis ]
// ...
return [accessoryView]
}
}
And here's the result...
Finishing Touches
Our accessory view is now in place and looking pretty good, but there are a couple of tweaks we can make to clean things up.
The first is to sort out that horrible clipping... We're going to do so by implementing UIContextMenuInteractionDelegate's contextMenuInteraction(_:configuration:highlightPreviewForItemWithIdentifier:) method and returning an instance of UITargetedPreview...tweaking one of its private properties.
// ...
@interface UITargetedPreview (Private)
@property (nonatomic ,assign ,setter =_setPrefersUnmaskedPlatterStyle:)BOOL _prefersUnmaskedPlatterStyle ;
@end
Back in Swift, we can use the above property like so...
class ViewController :UIViewController ,UIContextMenuInteractionDelegate {
var chatBubble :UIImageView !
// ...
func contextMenuInteraction (_ interaction:UIContextMenuInteraction ,configuration :UIContextMenuConfiguration ,highlightPreviewForItemWithIdentifier identifier:any NSCopying ) ->UITargetedPreview ? {
let parameters =UIPreviewParameters ()
let preview =UITargetedPreview (view :chatBubble ,parameters : parameters)
preview._prefersUnmaskedPlatterStyle =true
return preview
}
}

Much better!
To wrap things up, there's one more scenario we need to account for. In Messages, depending on whether the selected message was received or sent by the user, the context menu will align itself to the leading or trailing edge of the screen, respectively.

Unfortunately, there's no public API to achieve this. But UIContextMenuConfiguration does have a private, preferredMenuAlignment property. One last time, over in our briding header, let's add the following code...
// ...
@class UIContextMenuConfiguration ;
typedef NS_ENUM (NSInteger ,UIContextMenuConfigurationMenuAlignment ) {
UIContextMenuConfigurationMenuAlignmentNone =0 ,
UIContextMenuConfigurationMenuAlignmentLeading =1 ,
UIContextMenuConfigurationMenuAlignmentCenter =2 ,
UIContextMenuConfigurationMenuAlignmentTrailing =3
}NS_SWIFT_NAME (UIContextMenuConfiguration.MenuAlignment);
@interface UIContextMenuConfiguration (Private)
@property (nonatomic ,assign )UIContextMenuConfigurationMenuAlignment preferredMenuAlignment ;
@end
Back in our view controller, we can update our contextMenuInteraction(_:configurationForMenuAtLocation:) method that we declared right at the start, with the following code...
class ViewController :UIViewController ,UIContextMenuInteractionDelegate {
// ...
func contextMenuInteraction (_ interaction:UIContextMenuInteraction ,configurationForMenuAtLocation location:CGPoint ) ->UIContextMenuConfiguration ? {
let actionProvider: UIContextMenuActionProvider = { _in
// ...
}
let configuration =UIContextMenuConfiguration (actionProvider : actionProvider)
configuration.preferredMenuAlignment = .leading
return configuration
}
// ...
}

One More Thing...
Sorry for the cliché, but there is one more tiny little detail; _UIContextMenuAccessoryView has a setVisible:animated: instance method that subclasses can override to perform custom animations when the accessory view appears and disappears, just like Messages! This is relatively trivial to achieve using our bridging header, but not so simple if you're NSClassFromString(_:)ing things.
The latter option will require that you dynamically create a subclass of _UIContextMenuAccessoryView at runtime, and override the appropriate method, ensuring you call the superclass' implementation! I'm not going to go into the details of how to do that in this article, but feel free to give me a poke on Twitter and I'll point you in the right direction!
Conclusion
And there you have it, fully accessorised context menu interactions!
This article has been pretty Objective-C heavy and redefining private symbols in a bridging header is a one stop shop for App Review rejection.
For my Swift friends reading, I've created a GitHub repository whose default branch implements what we've been through in this article in a way that can be made App Review safe. There's also a branch with all the Objective-C goodness outlined in this article for you to play with in projects that you don't plan on submitting to Apple for review.
As always, if you've got any questions, feel free to reach out to me on Twitter!
Until next time...