Setting the Scene
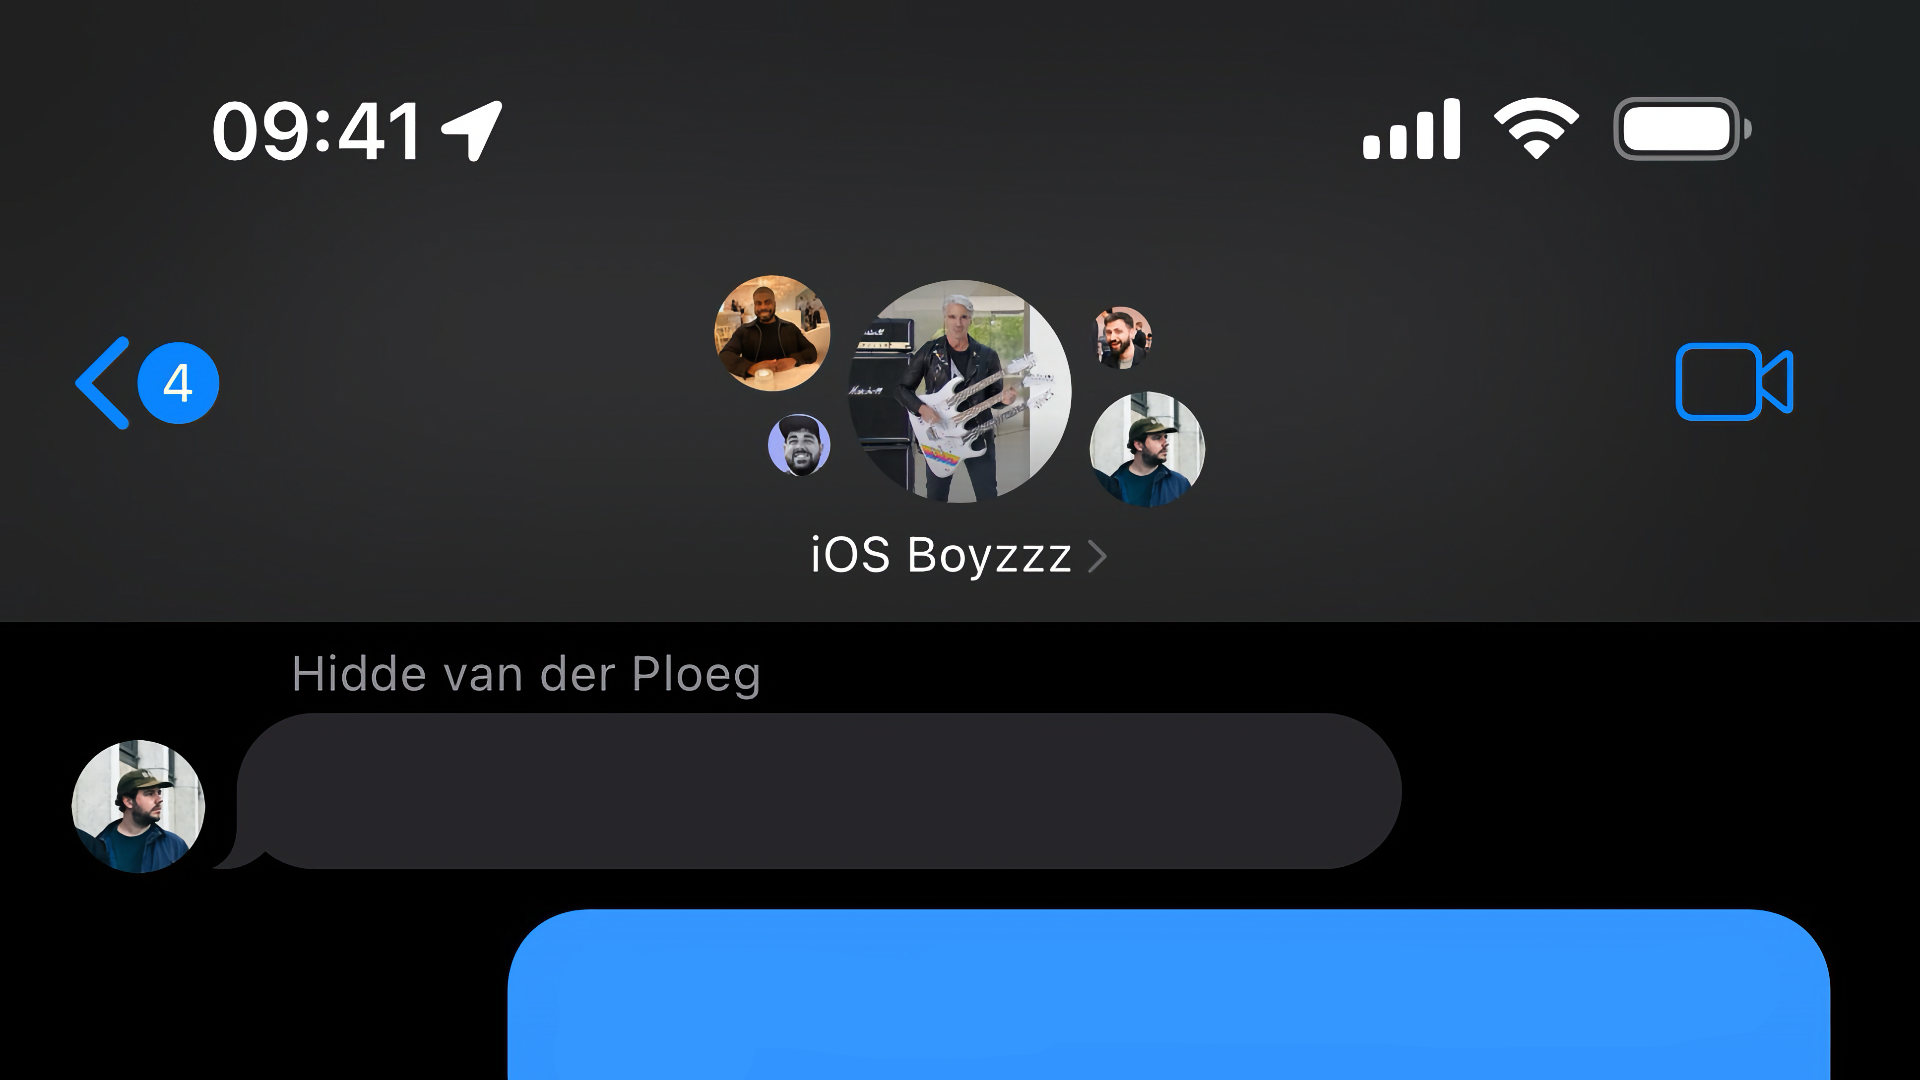
Since iOS 10, Apple's iMessage app has featured a larger-than-usual navigation bar with rich content, such as a contact's avatar and name, displayed prominently at the top of the screen. In a shocking turn of events, given what I share on Twitter and now this blog, this can be achieved using public APIs...at least in part.
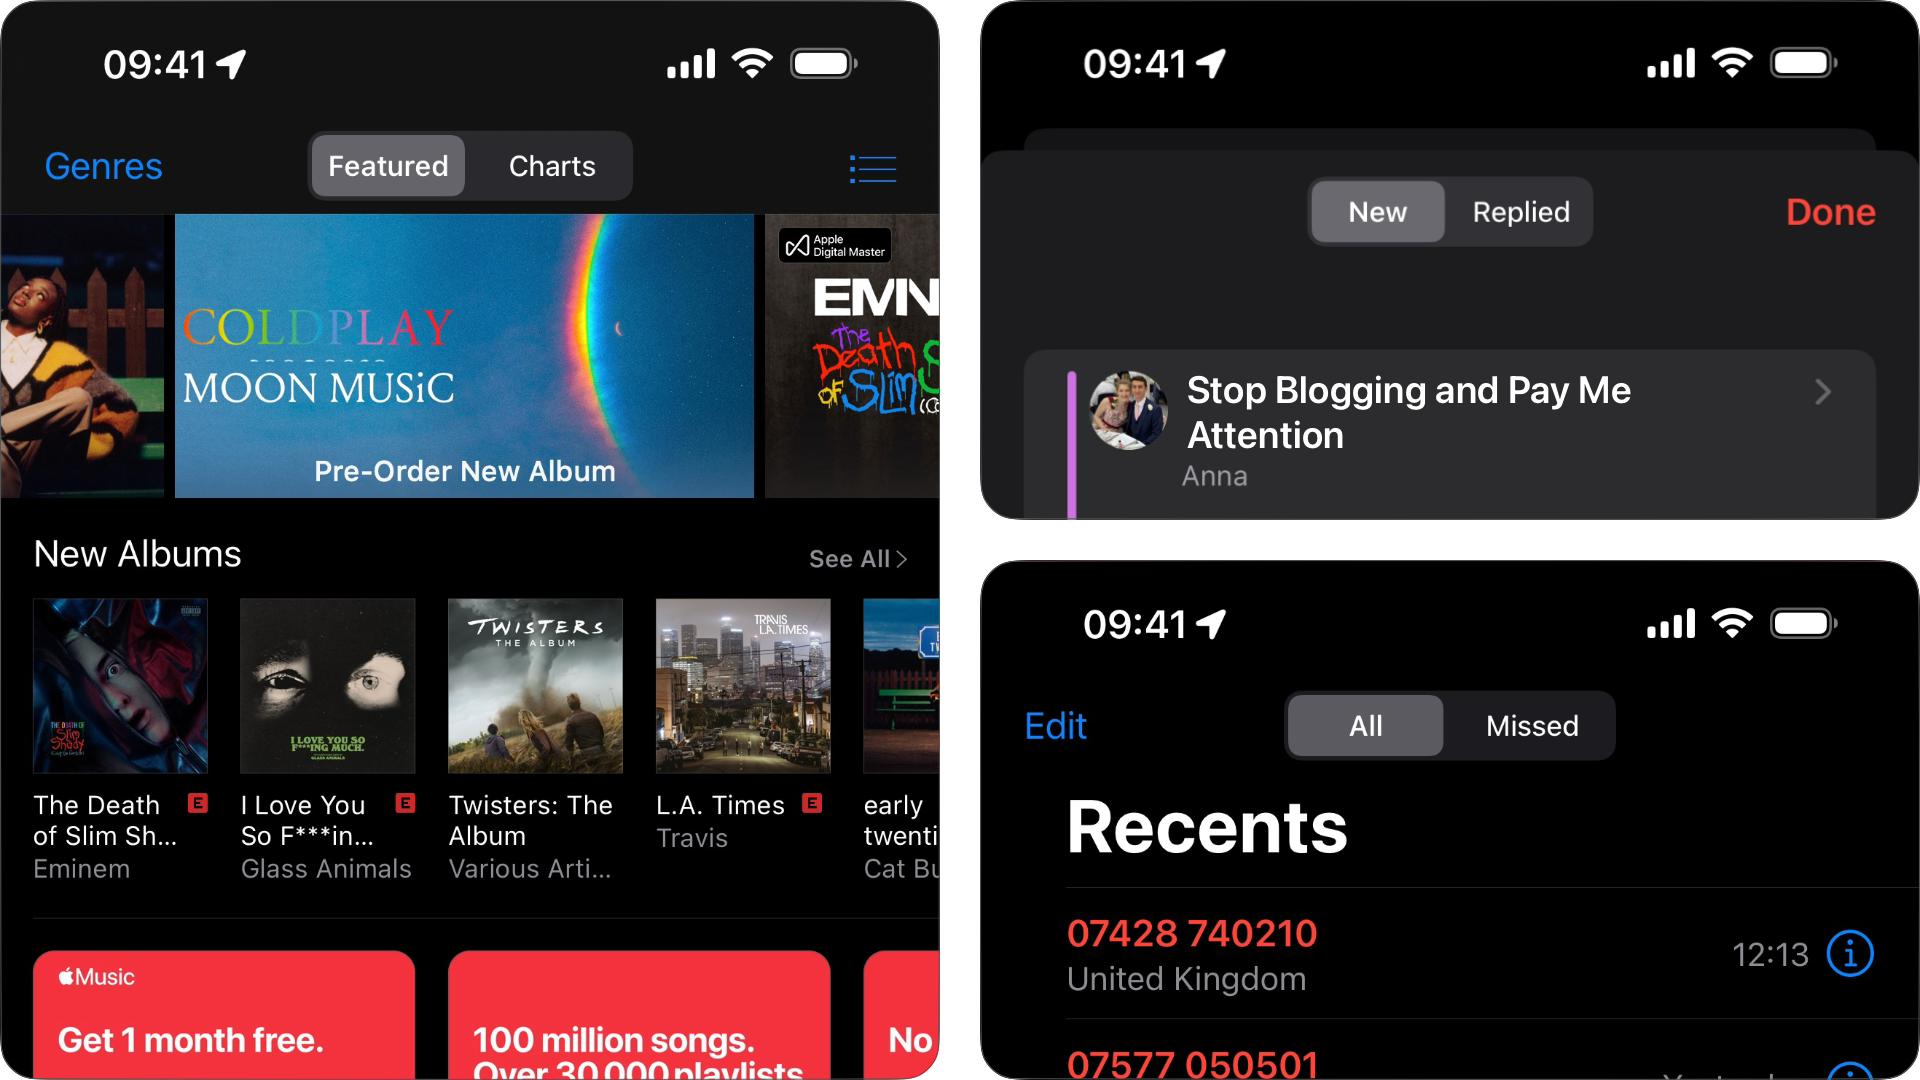
UINavigationItem, a class used as a proxy for a UINavigationBar's content, has a titleView property which expects a UIView. We can use this property to assign any custom view to be placed front and centre in the navigation bar. In fact, there's a number of system apps that make use of this API, including Phone, Calendar and iTunes Store.
There is, however, one limitation. UIKit limits the height of our supplied title view to the height of the navigation bar itself, 44 points. And, try as we might, there's no finding a way around this, we can set all the Auto Layout constraints we like! This means that if we were to recreate iMessage's avatar and name label view, it would get squashed to fit within the frame of the top bar.
The iMessage Approach
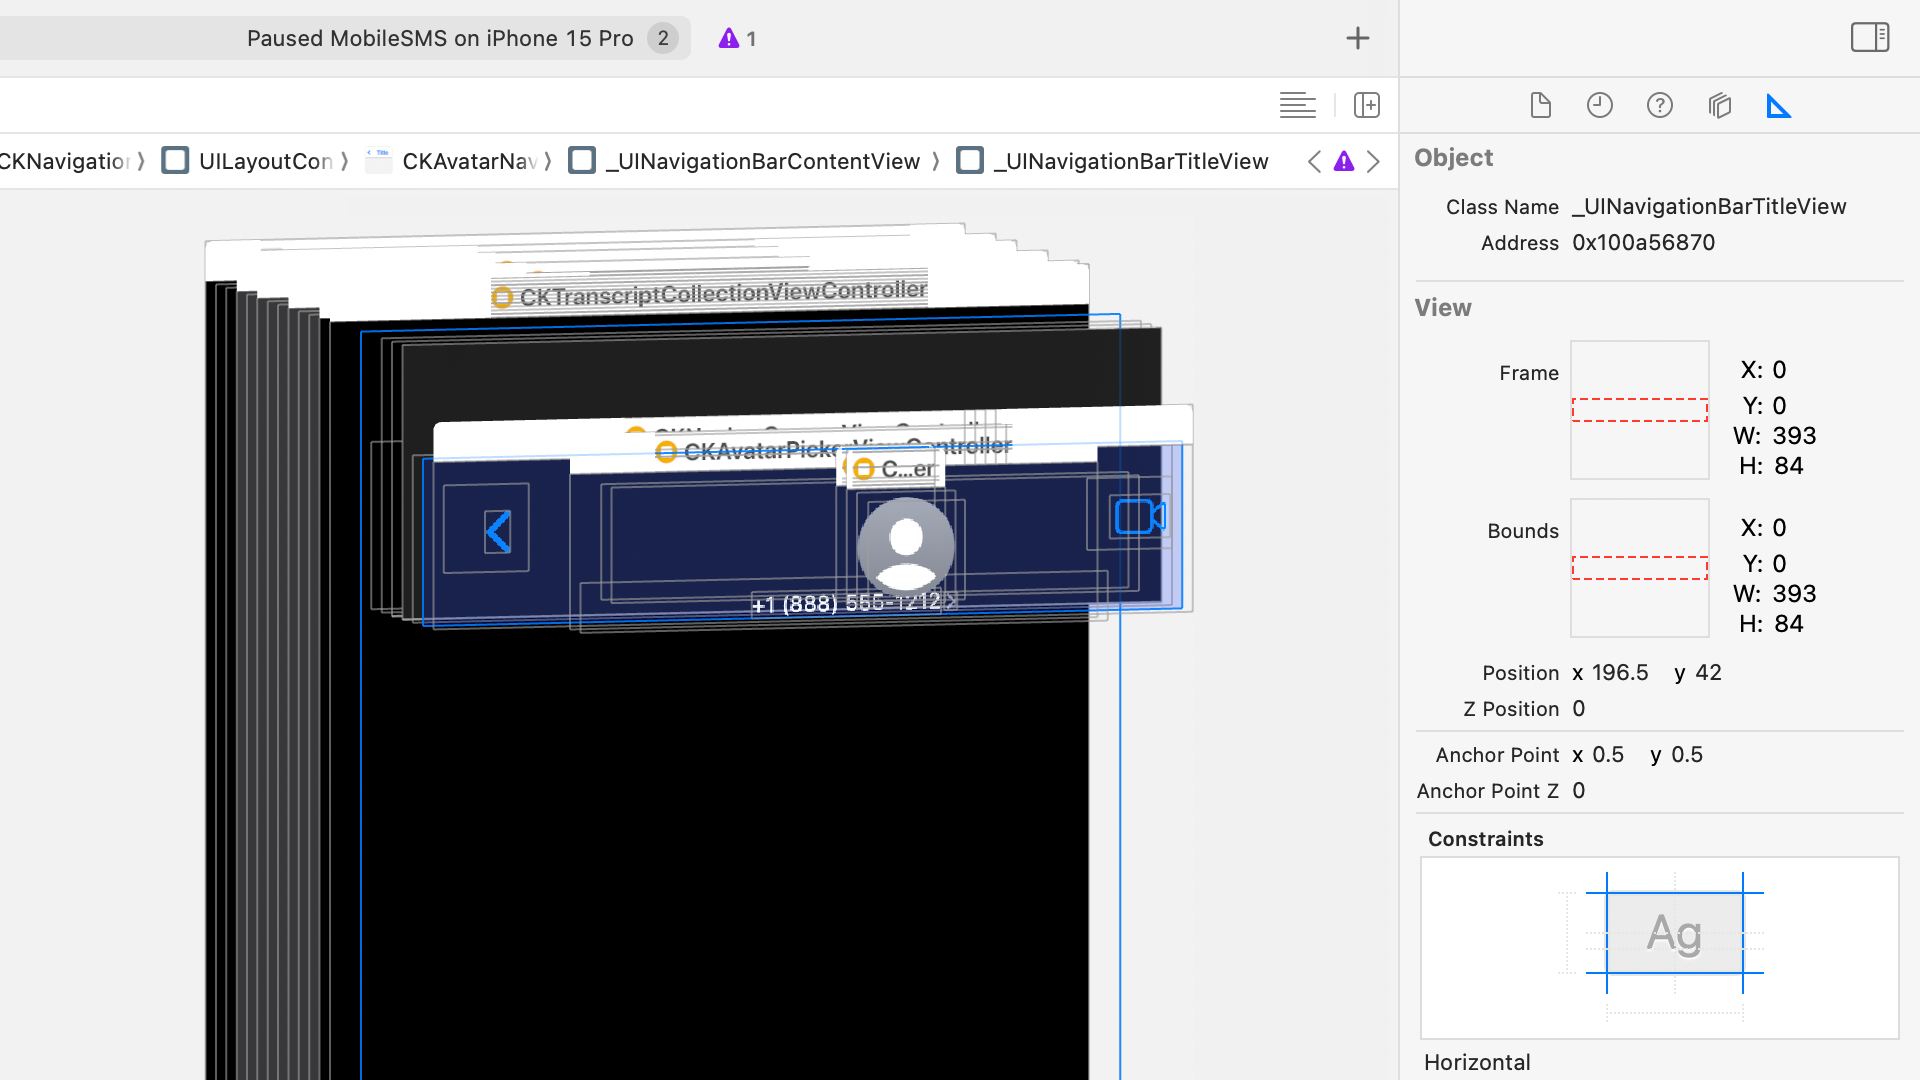
In my last post, I walked through the process of attaching Xcode's debugger to processes that we don't own, such as one of Apple's system apps. We can exploit the same trick here to attach to the Messages app, MobileSMS. Doing so allows us to use Xcode's Debug View Hierarchy feature, meaning we can see a 3D, exploded view of the app, and exactly what components the UI comprises of.
At the time of writing, the Messages app's root view controller is a CKMessagesController, a subclass of UISplitViewController, containing a CKNavigationController with a root view controller of a type CKConversationListCollectionViewController.
If we push to the detail view by tapping a cell in the conversation list, a new instance of CKNavigationController is pushed onto the navigation stack (oh hey, _allowNestedNavigationControllers!) with a root view controller of type CKTranscriptCollectionViewController. If we select the navigation bar at the top of this view, we can see it's a UINavigationBar subclass called CKAvatarNavigationBar.
"CK", if you're wondering, stands for ChatKit, which is Apple's internal UI framework for the Messages app, and it's a treasure trove of pretty awesome, private classes! Think iMessage effects; balloons, invisible ink, lasers, etc.! Anyway, that's an article for another day...
We can take a look at the innards of CKAvatarNavigationBar using a tool like class-dump to view the private headers. Helpfully, folks like Elias Limneos have already run this tool on almost all of Apple's internal frameworks, ChatKit included, and host them online for us to browse at our leisure. So, let's navigate to ChatKit, then CKAvatarNavigationBar.
Here's what the header file, CKAvatarNavigationBar.h, looks like.

#import <ChatKit/ChatKit-Structs.h>
#import <UIKitCore/UINavigationBar.h>
@interface CKAvatarNavigationBar :UINavigationBar
+(BOOL )_supportsCanvasView ;
-(CGSize )sizeThatFits :(CGSize )arg1;
@end
Not super helpful... Although, the _supportsCanvasView method looks interesting? Furthermore, UINavigationItem seems to have a corresponding _canvasView property and one of the subviews of the navigation bar is a UIView subclass called CKNavigationBarCanvasView. If we set a symbolic breakpoint for -[UINavigationItem _setCanvasView:] though, nothing happens - it's never hit. So, perhaps this isn't of interest after all...
Enter _UINavigationBarTitleView
Poking around the hierarchy of the CKAvatarNavigationBar further, I noticed something interesting. Every instance of UINavigationBar has a subview of type _UINavigationBarContentView. However, unlike every instance of UINavigationBar that I've worked with, the content view had a subview of type _UINavigationBarTitleView. At first, I thought nothing of this, as I'd confused it for the similarly named _UINavigationBarTitleControl, which is responsible for managing the navigation bar's title label - but this is something different.
Taking a look at _UINavigationBarTitleView's class-dumped header file revealed a bunch of interesting properties and methods, not least a method named setHeight:! And, if we set a breakpoint for -[_UINavigationBarTitleView setHeight:] in Xcode, while attached to the MobileSMS process, the breakpoint is hit and the height is set to 84.0. Using Xcode's view hierarchy debugger and size inspector, we can see the _UINavigationBarTitleView's height is exactly 84 points high. This value propagates up the chain to the navigation bar content view, and the navigation bar itself. This looks like exactly what we want...
A Swift Test
To test our findings, we can write some admittedly not-very-pretty Swift code to initialise an instance of the private _UINavigationBarTitleView class and call its setHeight: method. Here's what that looks like...

override func viewDidLoad () {
super .viewDidLoad ()
let titleViewClass =NSClassFromString ("_UINavigationBarTitleView" )as ?UIView .Type
let setHeightSelector =NSSelectorFromString ("setHeight:" )
guard let titleViewClass, titleViewClass.responds(to: setHeightSelector)else {return }
let titleView = titleViewClass.init ()
titleView.perform(setHeightSelector, with:84.0 )
}
In summary, this code obtains a class from the string "_UINavigationBarTitleView" and tries to cast it to the type of UIView. This should work, as we know _UINavigationBarTitleView is a subclass of UIView. We then create a selector from the string "setHeight:" and, after checking our type cast worked, also check that the class is capable of receiving the setHeight: message. If those checks pass, we initialise an instance of _UINavigationBarTitleView and call its setHeight: method, passing in a value of 84.0 as a parameter.
But what do we do with the initialised navigation bar title view? It's actually pretty simple, we just assign it to the public titleView property of our view controller's navigation item.
override func viewDidLoad () {
super .viewDidLoad ()
let titleViewClass =NSClassFromString ("_UINavigationBarTitleView" )as !UIView .Type
let setHeightSelector =NSSelectorFromString ("setHeight:" )
let titleView = titleViewClass.init ()
titleView.perform(setHeightSelector, with:84.0 )
navigationItem .titleView = titleView
}
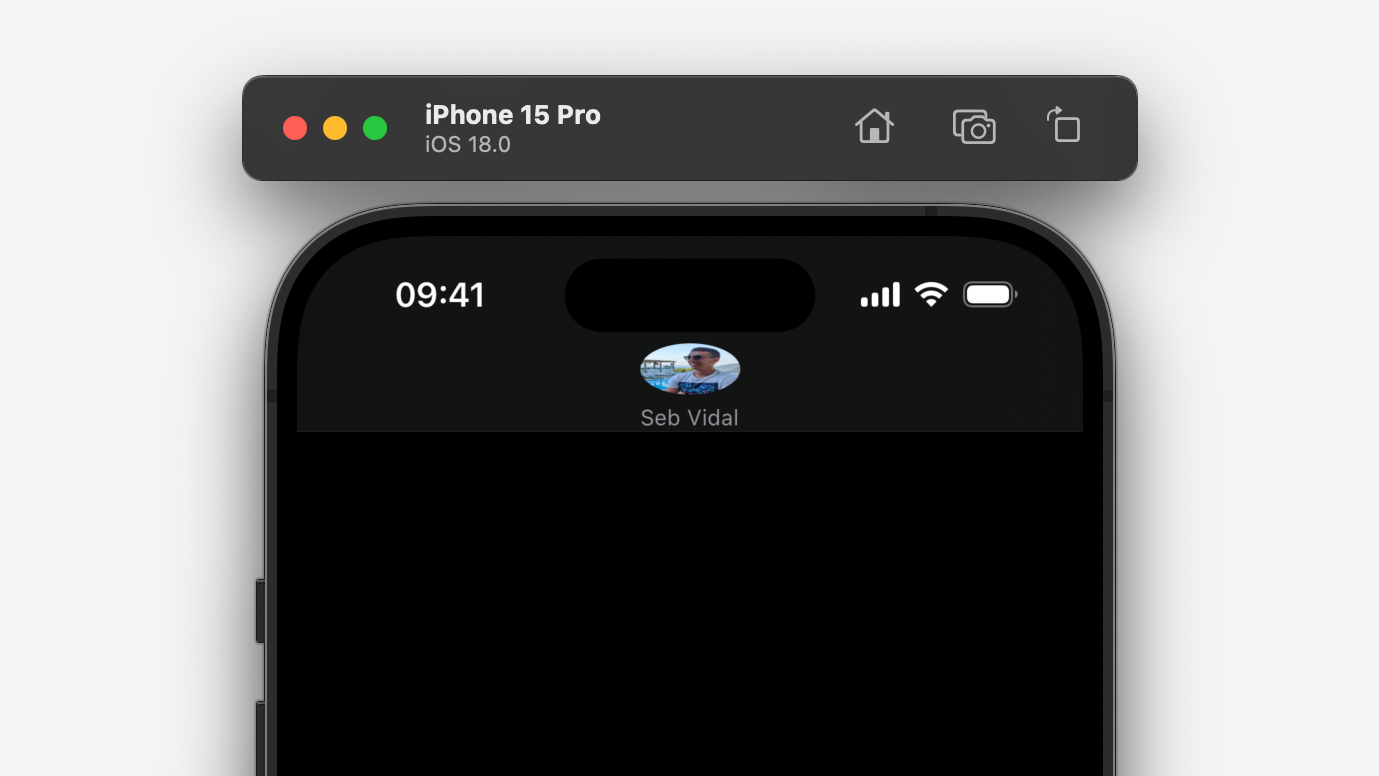
And here's the result...
You can see that our UI is starting to resemble that of Apple's Messages app, but it's a far cry from the "rich navigation bar content" that the title of this article alluded to. The good news is that it's plain sailing from here. Because _UINavigationBarTitleView is just a subclass of UIView, we can manipulate it as such, adding subviews to our hearts' content. Here's an example of how we can make it a little more Messages-y.
override func viewDidLoad () {
super .viewDidLoad ()
// ...
let avatarView =AvatarView ()
avatarView.translatesAutoresizingMaskIntoConstraints =false
titleView.addSubview (avatarView)
NSLayoutConstraint .activate ([
avatarView.topAnchor .constraint (equalTo : titleView.topAnchor ,constant :7 ),
avatarView.centerXAnchor .constraint (equalTo : titleView.centerXAnchor )
])
}
In the code above we initialise an instance of AvatarView, which is a custom UIView subclass comprising of a UIImageView and UILabel. We add the avatar view as a subview of our navigation bar title view; constraining the avatar view's top anchor to the title view's top anchor, plus 7 points of padding, and the avatar view's centre X anchor to the title view's centre X anchor, keeping it centred horizontally. Importantly, we don't constrain the avatar view's bottom anchor to the bottom anchor of the title view. This is because the height of the title view will change when the navigation controller is animating between views. If we were to constrain the avatar view's bottom anchor to the title view's bottom anchor, our avatar view's subviews will get compressed as the height of the navigation bar animates up and down. Here's what that looks like...
And, if you're interested, here's what the implementation of AvatarView looks like...
class AvatarView :UIStackView {
override init (frame :CGRect ) {
super .init (frame : frame)
spacing =5
axis = .vertical
alignment = .center
let imageView =UIImageView ()
imageView.image =UIImage (resource : .avatar)
addArrangedSubview (imageView)
let label =UILabel ()
label.text ="Seb Vidal"
label.textColor = .secondaryLabel
label.font = .preferredFont (forTextStyle : .caption2 )
addArrangedSubview (label)
}
required init (coder :NSCoder ) {
fatalError ("init(coder:) has not been implemented" )
}
}
There is one "gotcha", however. Unfortunately, and perhaps this a clue as to why this API has remained internal, _UINavigationBarTitleView doesn't play nicely with UIKit's layout system. That is to say, it doesn't seem to be able to "self-size". For example, if you have a navigation bar title view, with a subview with an intrinsic content size of 100 by 100, the navigation bar won't resize itself automatically to be 100 points tall. We have to call the setHeight: method.
This isn't a huge problem unless you're displaying content like a UILabel thats size might differ depending on factors such as Dynamic Type settings. If that is the case, you can employ an easy fix such as this...
override func viewDidLayoutSubviews () {
super .viewDidLayoutSubviews ()
let targetSize =CGSize (width :view .frame .width ,height : -1 )
let height = avatarView.systemLayoutSizeFitting (targetSize).height +16
let setHeightSelector =NSSelectorFromString ("setHeight:" )
navigationItem .titleView ?.perform(setHeightSelector, with: height)
}
Just make sure navigationItem.titleView is an instance of _UINavigationBarTitleView, otherwise this code will crash.
One other minor problem is that if you assign an instance of _UINavigationBarTitleView to a navigation item and you've assigned the navigation item's title property with some string, the title text will appear on top of your custom view. Fortunately the fix for this is super easy...
override func viewDidLoad () {
super .viewDidLoad ()
// ...
let setHideStandardTitleSelector =NSSelectorFromString ("setHideStandardTitle:" )
titleView .perform(setHideStandardTitleSelector, with:1 )
}
The icing on the cake with this API is that is doesn't interfere with our navigation bar's leading and trailing buttons. You can assign bar button items to your navigation item as normal, and they'll be displayed in your navigation bar exactly as you'd expect...
override func viewDidLoad () {
super .viewDidLoad ()
// ...
let backButton =UIBarButtonItem ()
backButton.image =UIImage (systemName :"chevron.left" )
let faceTimeButton =UIBarButtonItem ()
faceTimeButton.image =UIImage (systemName :"video" )
navigationItem .leftBarButtonItem = backButton
navigationItem .rightBarButtonItem = faceTimeButton
}
Closing Thoughts
And there you have it, the full Messages effect! It's worth noting that, despite my example in this article being relatively simple, the possibilities with _UINavigationBarTitleView are pretty endless.
It's a shame that this API is behind closed doors as there are no shortage of questions on StackOverflow asking how to add custom content to the navigation bar, or increase the height of the navigation bar. The answers to such questions often involve some serious usability and accessibility tradeoffs for the user, and some not insignificant maintainability issues for the developer.
If you'd like to see this, or something similar, become public API then do file a Feedback.
I hope you've enjoyed this deep dive into the Messages app's custom navigation bar content. If you found it helpful or want to show off your shiny, new custom navigation bar, drop me a line over on Twitter.