Introduction
It's that time of year again, WWDC has concluded, and Apple has just announced a slew of new features for their platforms - not least a completely redesigned Photos app!
I always enjoy an app redesign from Apple, regardless of if I'm onboard with the overhauled experience, as it's a chance to take it apart and learn best practices and modern design patterns from industry leaders. This year is no exception!
As part of Apple's barrage of iOS 18 announcements, an all new Photos app made an appearance. I'm not going to cover the entire redesign here because someone else will do this far more diligently and comprehensively than me, but let's talk about something in particular that caught my eye - that new Search UI!
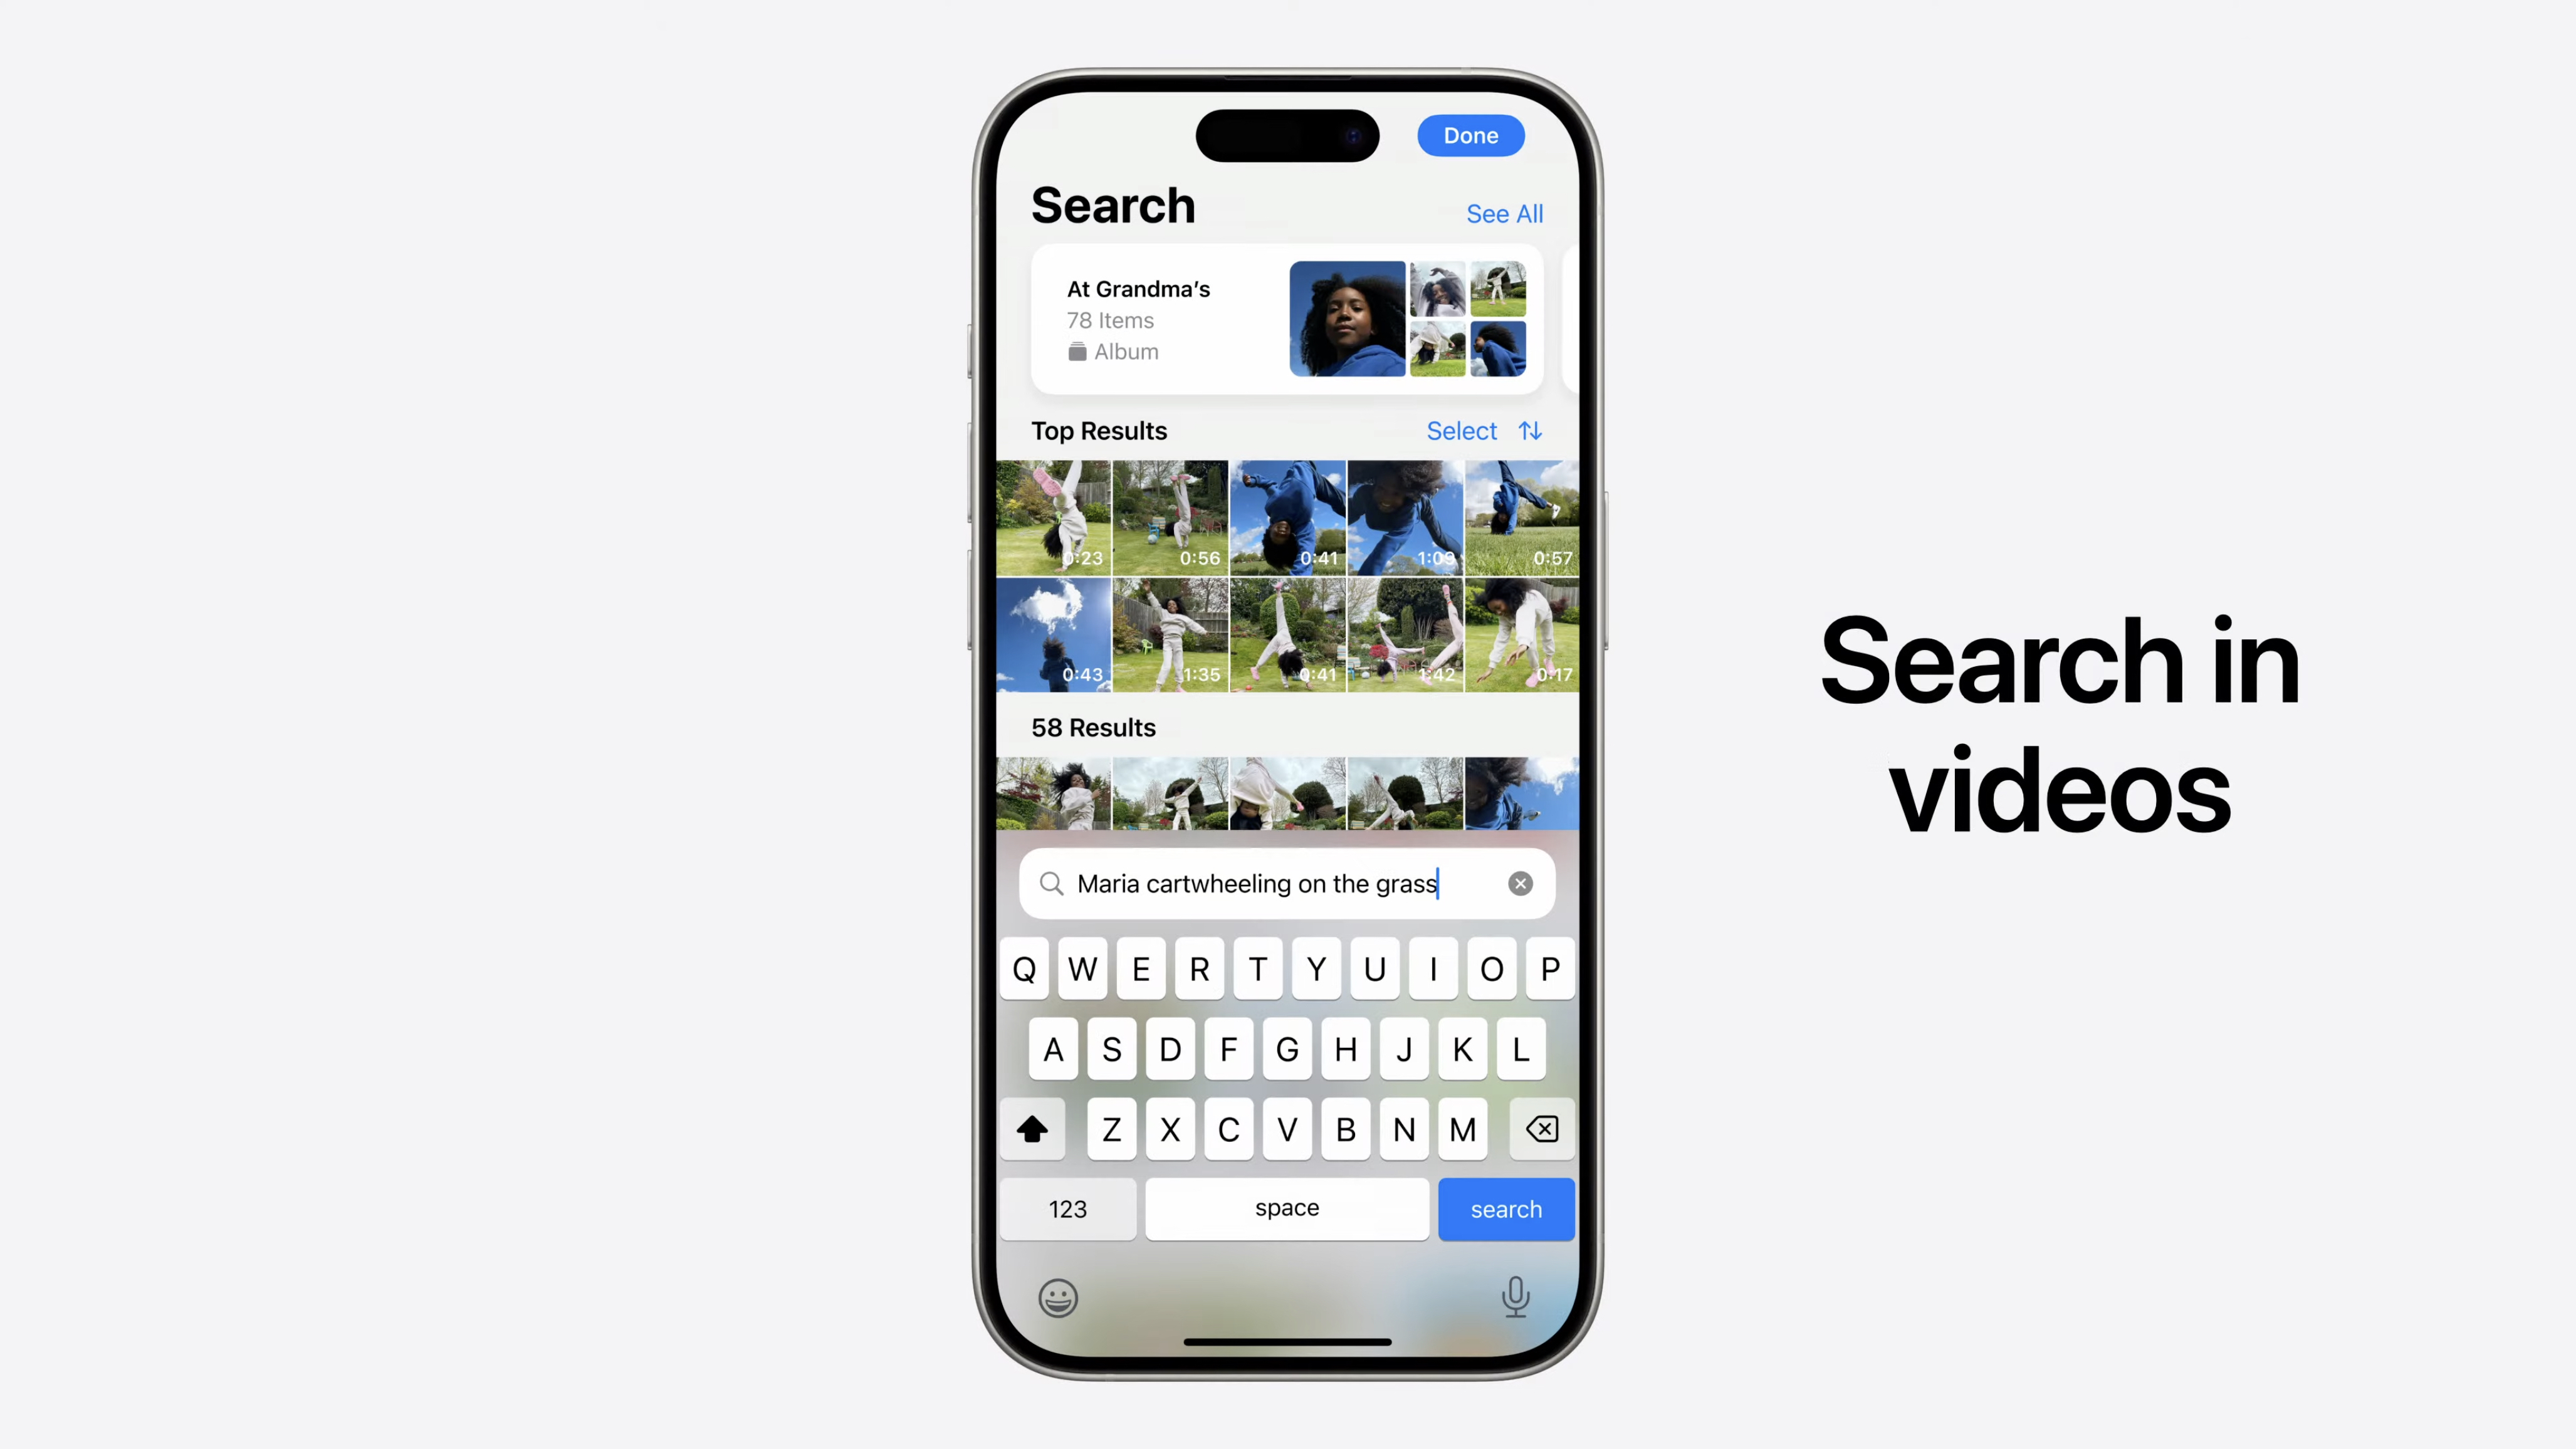
The Search tab has been completely removed, along with the rest of the tab bar, and has been replaced with an always-present “Search” bar button item in the navigation bar. Tapping this brings up the keyboard with a suitably curvy, custom search bar, very similar to those found in Safari and the App Library. The good news is, in Photos' case, this is a custom SwiftUI View that can be recreated (almost) entirely with public API! The search bar sits against a backdrop that seamlessly blends in to the background of the keyboard. I'm a huge fan of this design pattern and was eager to find out how it's achieved. The bad news is this effect cannot be recreated with public API...
But! I'm stubborn. And when there's a will, there's a way! So let's dive in to how the very clever engineers on the Photos team might have gone about implementing this effect, and see if we can implement it ourselves!
UIVisualEffectView?
Let's start by discussing some solutions that won't work. The first, and perhaps most obvious solution, UIVisualEffectView! We can create a visual effect view using its effectWithStyle: initialiser which takes a parameter of type UIVisualEffect. UIVisualEffect is an abstract class that serves only the purpose of acting as a common super class for the UIBlurEffect and UIVibrancyEffect classes to inherit from. Both UIBlurEffect and UIVibrancyEffect have corresponding enums defining constants for the blur and vibrancy styles, UIBlurEffectStyle and UIVibrancyEffectStyle, respectively.
“Surely one of the twenty one constants defined in the UIBlurEffectStyle enum will match the effect used by the keyboard's background?”, I hear you ask. Well, faithful reader, you would think so!
The reality is that some of them get us reasonably close, UIBlurEffectStyleSystemChromeMaterial, for example.
If you're happy with reasonably close, you can stop reading, slap a visual effect view above the keyboard, and go on with your day. If, like me, the abrupt line between where your visual effect view ends, and the keyboard's background begins makes your toes curl, then read on...
UIResponder inputAccessoryView?
The next solution that won't work is UIResponder's inputAccessoryView property. This is a read-only property that allows you to supply your own UIView to sit above the keyboard while said responder is focused. A typical implementation of this is a subclass of some UIResponder, such as UIViewController, that overrides the inputAccessoryView property and returns some instance of UIView. In Swift, this would look like...

class ViewController :UIViewController {
override var inputAccessoryView :UIView ? {
let inputAccessoryView =UIView ()
inputAccessoryView.backgroundColor = .systemPurple
inputAccessoryView.frame .size =CGSize (width : -1 ,height :56 )
return inputAccessoryView
}
}
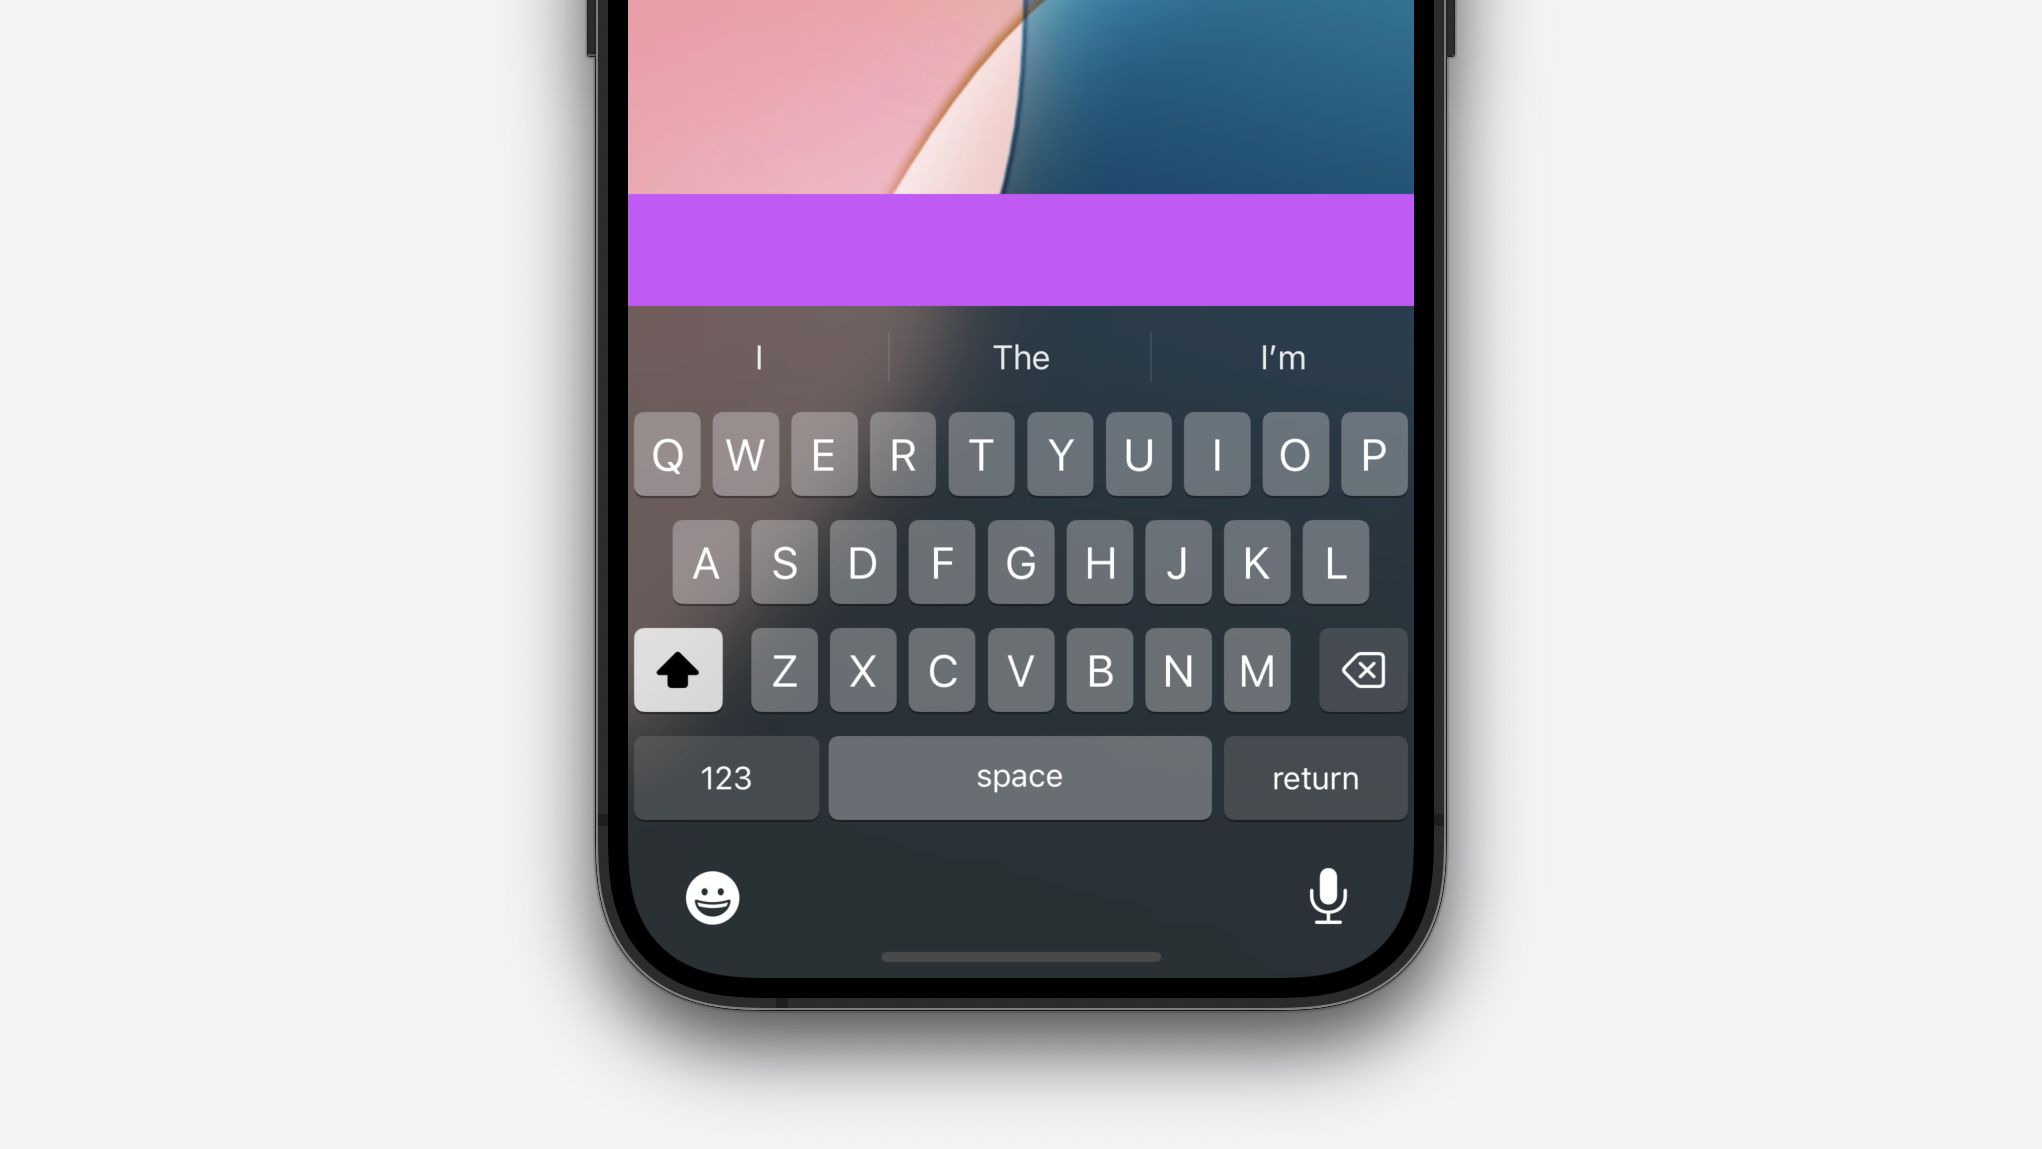
Whenever this view controller is on screen, and the keyboard appears, a purple view, 56 points tall, will sit above the keyboard. The best part is, UIKit manages this view entirely for us! We don't have to worry about it's position, animating it on and off screen, the framework gives us this for free.
UITextField and UITextView, both UIResponder subclasses, make this even easier, providing a getter and setter for the inputAccessoryView property! This means you don't have to create text field or text view subclasses to provide a custom input accessory view...
override func viewDidLoad () {
super .viewDidLoad ()
let inputAccessoryView =UIView ()
inputAccessoryView.backgroundColor = .systemPurple
inputAccessoryView.frame .size =CGSize (width : -1 ,height :56 )
let textField =UITextField ()
textField.placeholder ="Search"
textField.inputAccessoryView = inputAccessoryView
textField.translatesAutoresizingMaskIntoConstraints =false
view .addSubview (textField)
NSLayoutConstraint .activate ([
textField.centerXAnchor .constraint (equalTo :view .centerXAnchor ),
textField.topAnchor .constraint (equalTo :view .safeAreaLayoutGuide .topAnchor )
])
}
Even better yet, the iOS 7 SDK introduced UIInputView, a subclass of UIView. This has an initWithFrame:inputViewStyle: initialiser, which takes a CGRect and UIInputViewStyle as parameters. If we supply our desired frame and the UIInputViewStyleKeyboard constant, we're 90% of the way to achieving this slick keyboard-search bar combo! So why did I say this solution wont work?
The UIKit veterans reading this might have remembered that input accessory views work superbly...until you add a UITextField or UITextView as a subview of your supplied view. Doing so is possible, but when said text component becomes the first responder, the keyboard briefly glitches and immediately disappears off screen. To cut a long story short, there's no way around this, at least not one that I could find. Apple seem to be aware of this limitation as neither Safari, nor Photos, use this approach.
So, if not a visual effect view, nor an input accessory view, then what? Let's dive in...
Getting Started
To start, we need to take a closer look at the Photos app. Fortunately, Photos is available as an app in Xcode's Simulator, so we can attach the Xcode debugger to the Photos process, MobileSlideShow, and use Xcode's Debug View Hierarchy feature to see exactly how the UI is composed, right? Well, no. At least not yet. If we try to attach to the MobileSlideShow process, Xcode will think about it for a moment and tell us that it “cannot attach to pid”. This is because we're not allowed to attach the debugger to processes we don't own. There is a work around, however! If we disable macOS' System Integrity Protection (SIP), we can attach Xcode's debugger to almost any process we like! I'm not going to go into details about how to disable SIP here, as it's about as good an idea as it sounds. The process only takes a couple of minutes and isn't too involved, so a quick Google search will allow you to assess the potential risks and show you the steps involved.
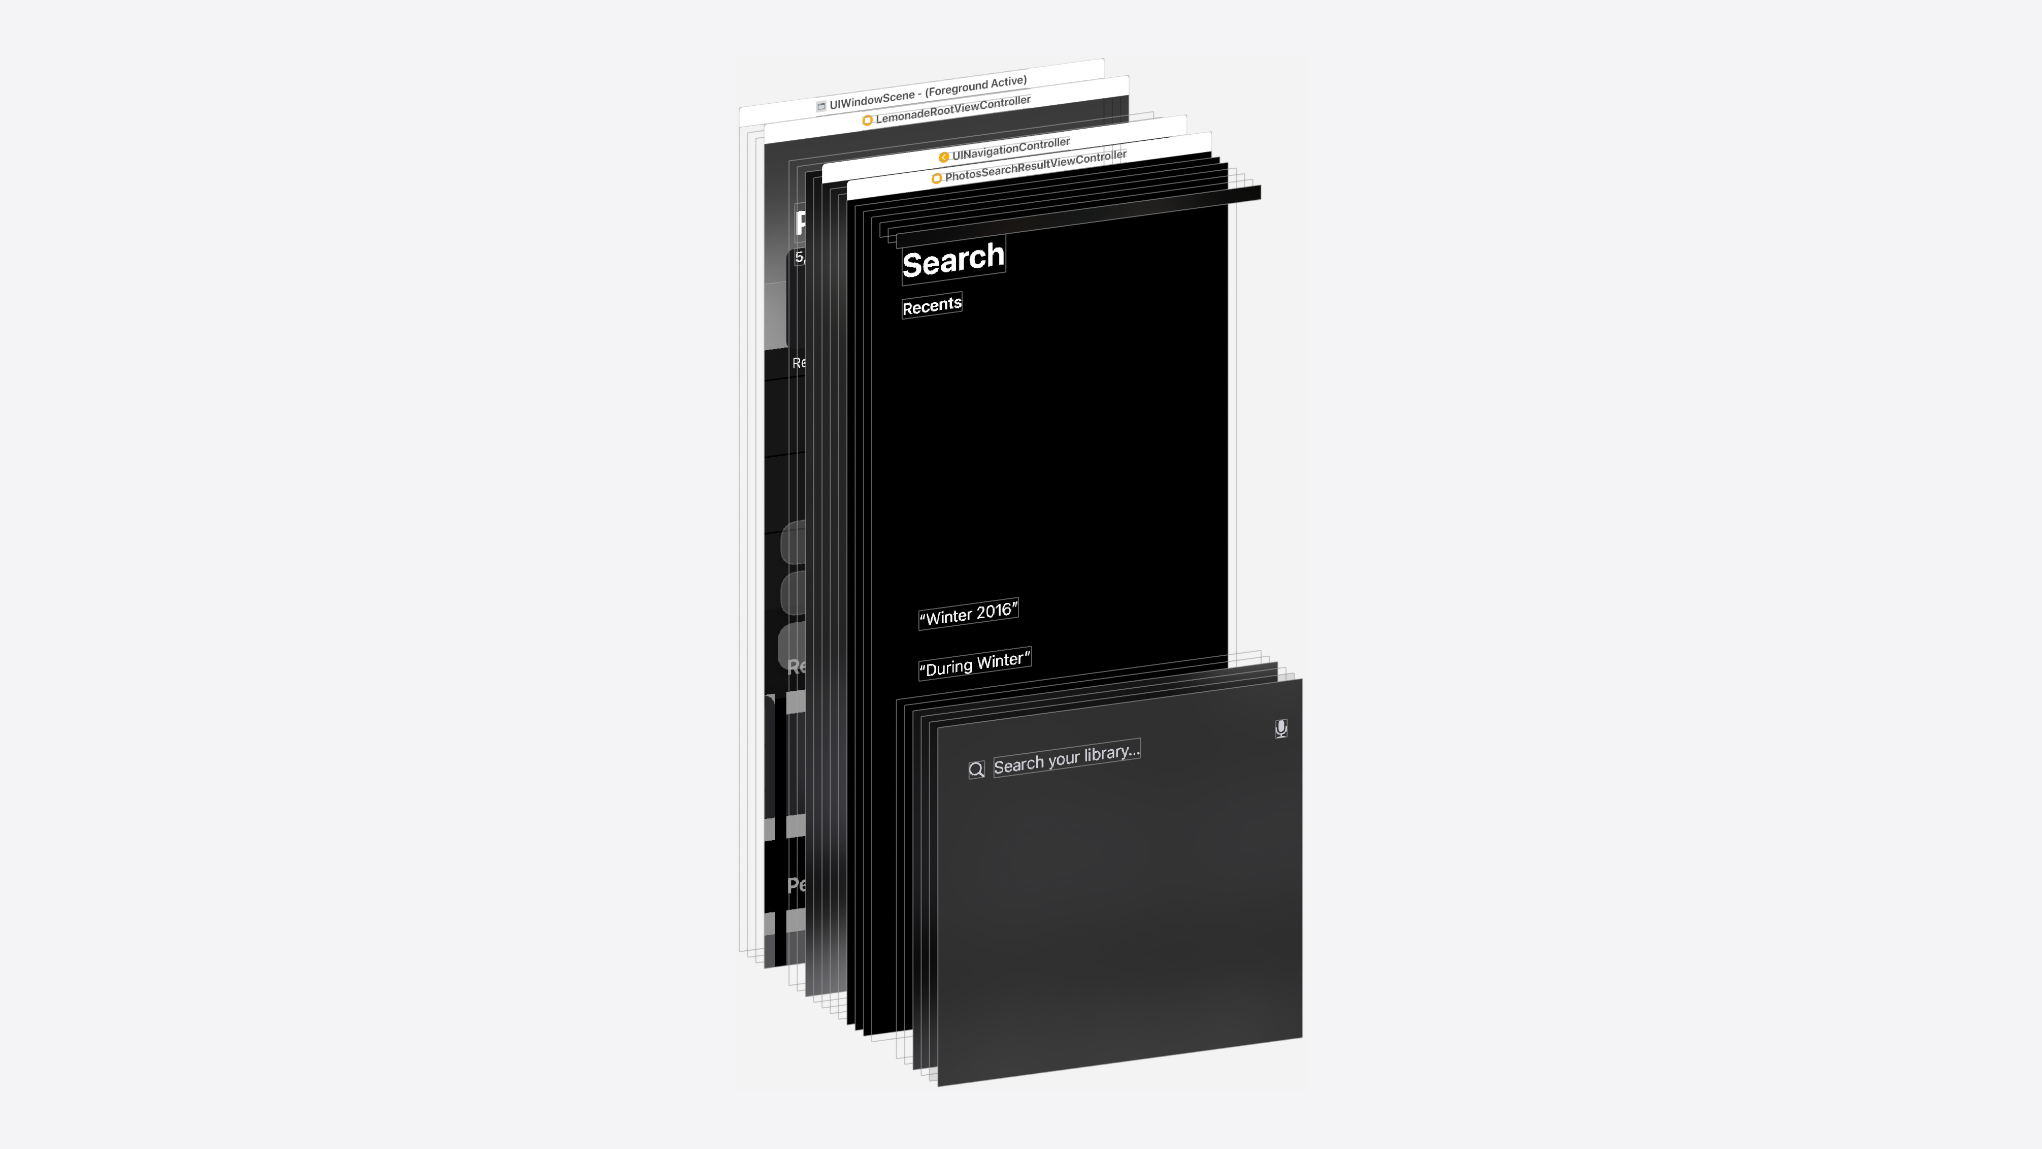
So, with our Simulator booted and Photos running, we can go back into Xcode and, in the menu bar, go to Debug > Attach to Process > MobileSlideShow. Having done this, you should be able to see MobileSlideShow in the Debug navigator pane on the left. Now, it's just a matter of going to back to the menu bar, Debug > View Debugging > Capture View Hierarchy, give it a second, and hey presto! We've got a 3D, exploded view of the Photos app - pretty neat!

The first thing we can ascertain is that they're using a lot of SwiftUI here. The telltale sign is that the UIWindow's root view controller is a UIHostingController subclass named LemonadeRootViewController. This view controller's view is an instance of _UIHostingView and almost all of the user interface elements are composited directly into this view's CALayer. The result of this is that we can't inspect individual UI elements as closely, presumably because Apple makes liberal use of SwiftUI's drawingGroup() view modifier here for better performance.
However, resuming the program's execution, tapping the new “Search” bar button item, and re-capturing the view hierarchy in Xcode reveals another view controller subclass, PhotosSearchResultViewController. This is a good (old fashioned?) UIKit view, which means we can see each and every subview in the view hierarchy debugger and their layers that they're drawn in to. There's one subview that looks particularly interesting, it looks visually very similar to the iOS keyboard's background and is also placed at the bottom of the screen, with the aforementioned custom search bar sat in front of it. If we click on that subview, and check the Object Inspector on the right, we can see it's called UIKBVisualEffectView.
UIKBVisualEffectView
UIKBVisualEffectView is a class declared in Apple's private framework, UIKitCore, hence the UI prefix. The KB, most likely, stands for KeyBoard and we can see in the Object inspector pane that it inherits from UIVisualEffectView. So let's see if we can get that working! I'm going to create a new Xcode project, in a new window, and add the following code in the provided ViewController.swift file...
override func viewDidLoad () {
super .viewDidLoad ()
let UIKBVisualEffectView =NSClassFromString ("UIKBVisualEffectView" )as !UIVisualEffectView .Type
let visualEffectView =UIKBVisualEffectView .init ()
visualEffectView.translatesAutoresizingMaskIntoConstraints =false
view .addSubview (visualEffectView)
NSLayoutConstraint .activate ([
visualEffectView.widthAnchor .constraint (equalToConstant :100 ),
visualEffectView.heightAnchor .constraint (equalToConstant :100 ),
visualEffectView.centerXAnchor .constraint (equalTo :view .centerXAnchor ),
visualEffectView.centerYAnchor .constraint (equalTo :view .centerYAnchor )
])
}
So what's going on here? First, we use the Objective-C runtime's NSClassFromString(_:) function. Yes, that's right! Function. Despite the PascalCase naming convention, this is just a function defined at global scope in the Foundation framework. This function takes a string as a parameter and, at runtime, tries to find the associated class type based off the provided name. We're force unwrapping the result and downcasting it to type UIVisualEffectView, as we know it inherits from that class. It's worth noting that this function doesn't create an instance of this type, it just returns the type itself. The rest is pretty standard UIKit code, we initialise an instance of the class type returned by the NSClassFromString function, set its constraints, and add it to the view hierarchy.
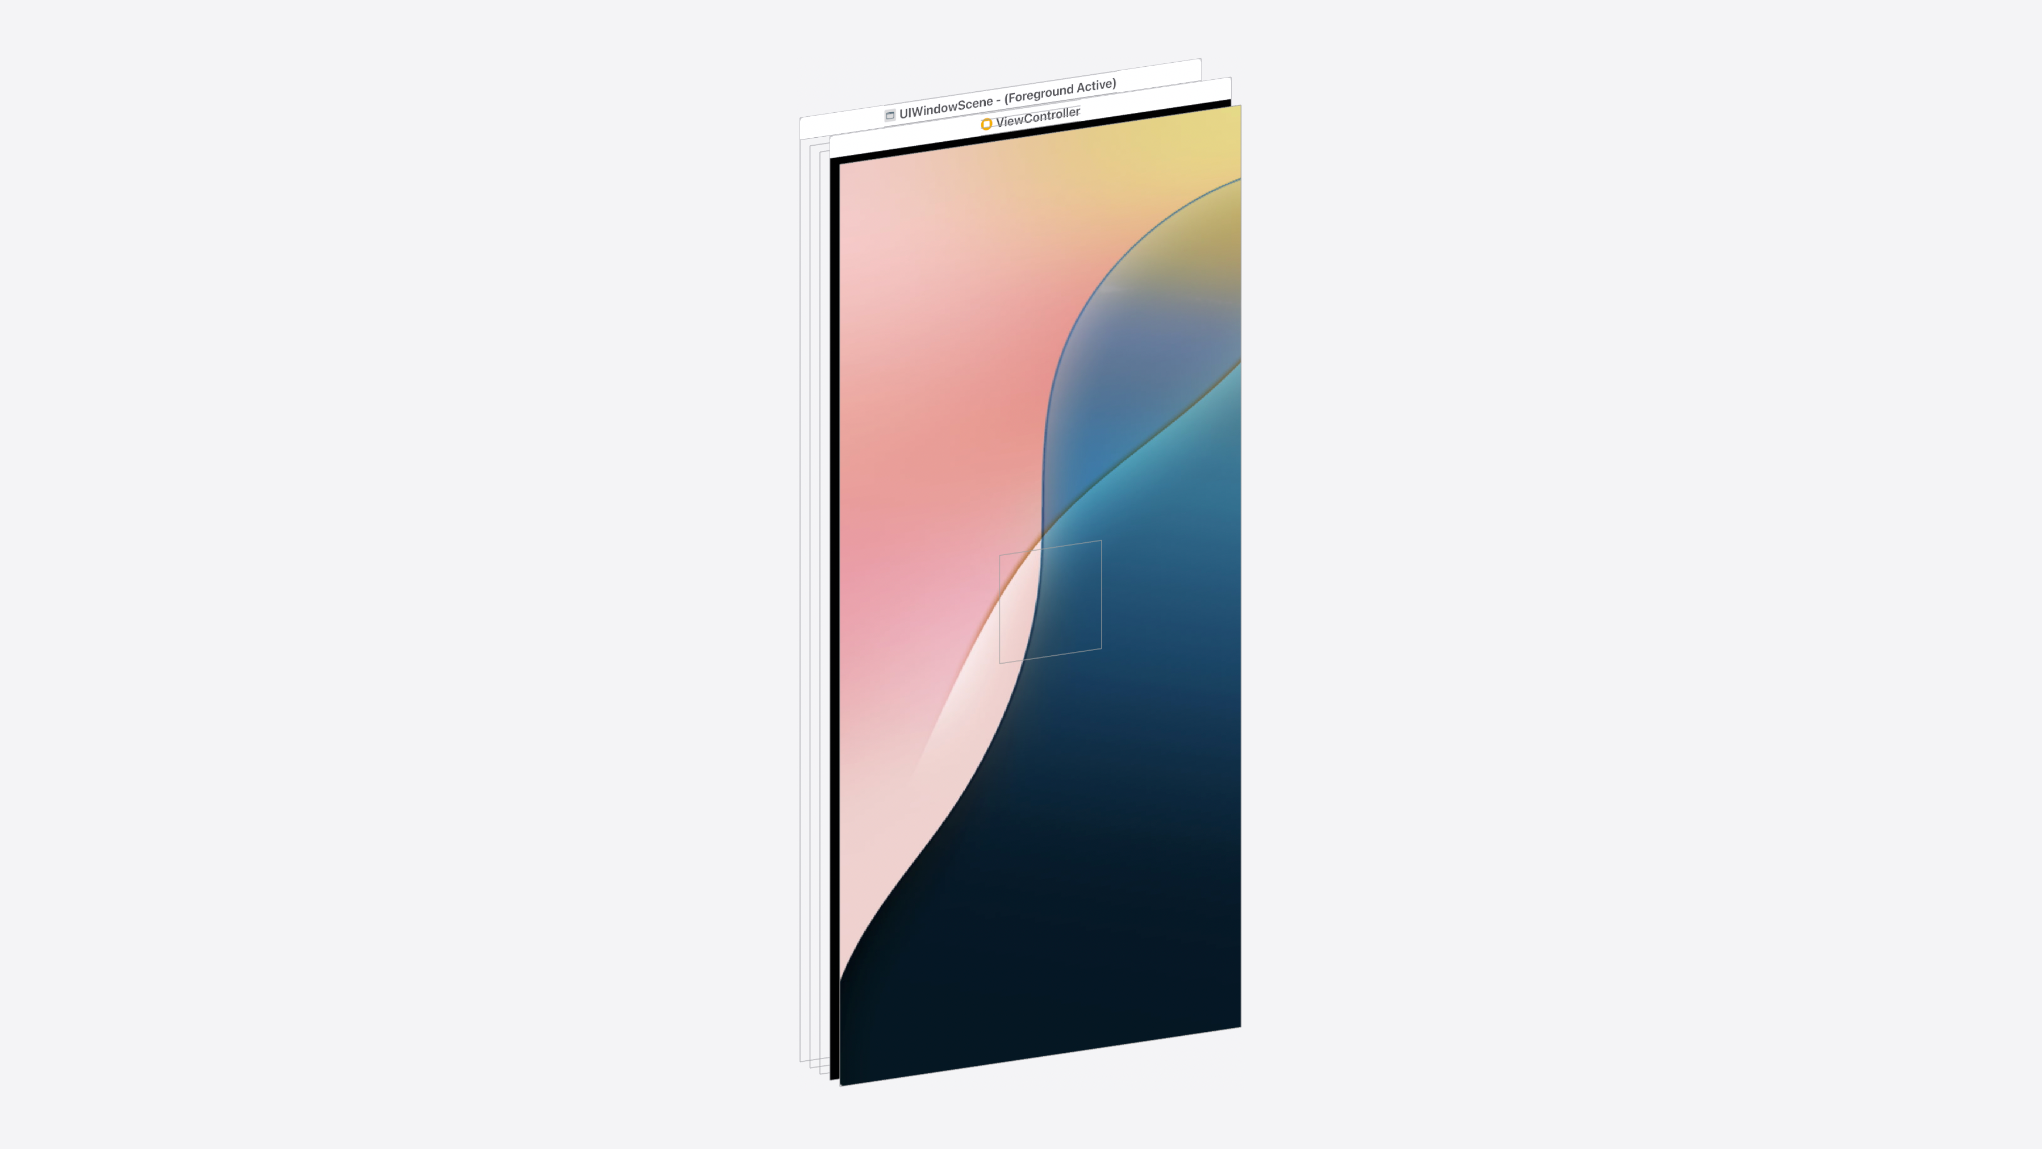
So, let's build and run! When the app finishes building and opens in the simulator, it doesn't crash! This means that the Objective-C runtime was able to find a class with the same name we provided, and the forced downcast to UIVisualEffectView worked! The bad news is, the screen is empty? If we use Xcode's View Hierarchy Debugger on our test app, we can see that the view was added to the view hierarchy, but just happens to be empty... Weird!
Digging Deeper
Normally, if we wanted to learn how to use a UIKit object, we would refer to Apple's developer documentation or perhaps the header file. But this class is entirely undocumented, and doesn't have an Objective-C header file for us to reference. However, tools like class-dump can take a .framework file's Mach-O binary and spit out Objective-C header files with declarations for all classes, categories (extensions) and protocols! Therefore, we can see exactly what classes are available at runtime, and what methods and protocols those classes implement! So how do we do that? Well, we don't. At least I don't. Folk's like Elias Limneos host websites with the class-dumped headers files dating as far back as iOS 3! So let's find the UIKitCore framework, and navigate to UIKBVisualEffectView.
Here's the header for that class...

#import <UIKitCore/UIKBBackdropView.h>
@interface UIKBVisualEffectView :UIKBBackdropView
@end
Not super helpful... But we can see that UIKBVisualEffectView is a subclass of UIKBBackdropView. So let's find that header file...
#import <UIKitCore/UIKitCore-Structs.h>
#import <UIKitCore/UIVisualEffectView.h>
@class UIImage;
@interface UIKBBackdropView :UIVisualEffectView {
UIImage* _imageForCorners;
}
@property (nonatomic ,retain ) UIImage *imageForCorners ;
-(int )textEffectsVisibilityLevel ;
-(void )transitionToStyle :(long long )arg1;
-(id )initWithFrame :(CGRect)arg1style :(long long )arg2;
-(void )_setRenderConfig :(id )arg1;
-(void )updateFrame :(CGRect)arg1withCorners :(unsigned long long )arg2;
-(id )_generateCornerContentsImage :(unsigned long long )arg1;
-(void )setImageForCorners :(UIImage *)arg1;
-(UIImage *)imageForCorners ;
-(void )updateCorners :(unsigned long long )arg1;
-(BOOL )_applyCornerMaskToSelf ;
@end
This is more like it! From now on, we'll ignore the empty UIKBVisualEffectView class and instead focus on its superclass UIKBBackdropView. Taking a look at the header, there's one particular method of interest, initWithFrame:style:. The first parameter is expecting a CGRect, but the second style parameter is expecting a value of type long long. This is a 64-bit, signed integer, which means the specific value we need to pass into this function to get things working could be anywhere from -9,223,372,036,854,775,807 to 9,223,372,036,854,775,807. Call me lazy, but I don't think a manual approach here is going to work.
Now we know UIKBBackdropView has an initWithFrame:style: method, let's set a symbolic breakpoint in Xcode which will be triggered when this method is called. Doing so will allow us to see the values passed in to each parameter whenever the method is called. Here's the symbol for that method...
-[UIKBBackdropView initWithFrame:style:]
To test this, we don't even need to attach to the MobileSlideShow process, as UIKBBackdropView is not only used by the Photos app to simulate the keyboard background, but it is the keyboard background. The iOS keyboard is, itself, just a UIView subclass named...wait for it...UIKeyboard! So any time a keyboard appears in your app, the UIKeyboard class is initialised and UIKBBackdropView's initWithFrame:style: method is called.
In my test project, I'm going to replace the code in viewDidLoad() with the following...
override func viewDidLoad () {
super .viewDidLoad ()
let textField =UITextField ()
textField.placeholder ="Search"
textField.translatesAutoresizingMaskIntoConstraints =false
view .addSubview (textField)
NSLayoutConstraint .activate ([
textField.centerXAnchor .constraint (equalTo :view .centerXAnchor ),
textField.centerYAnchor .constraint (equalTo :view .centerYAnchor )
])
}
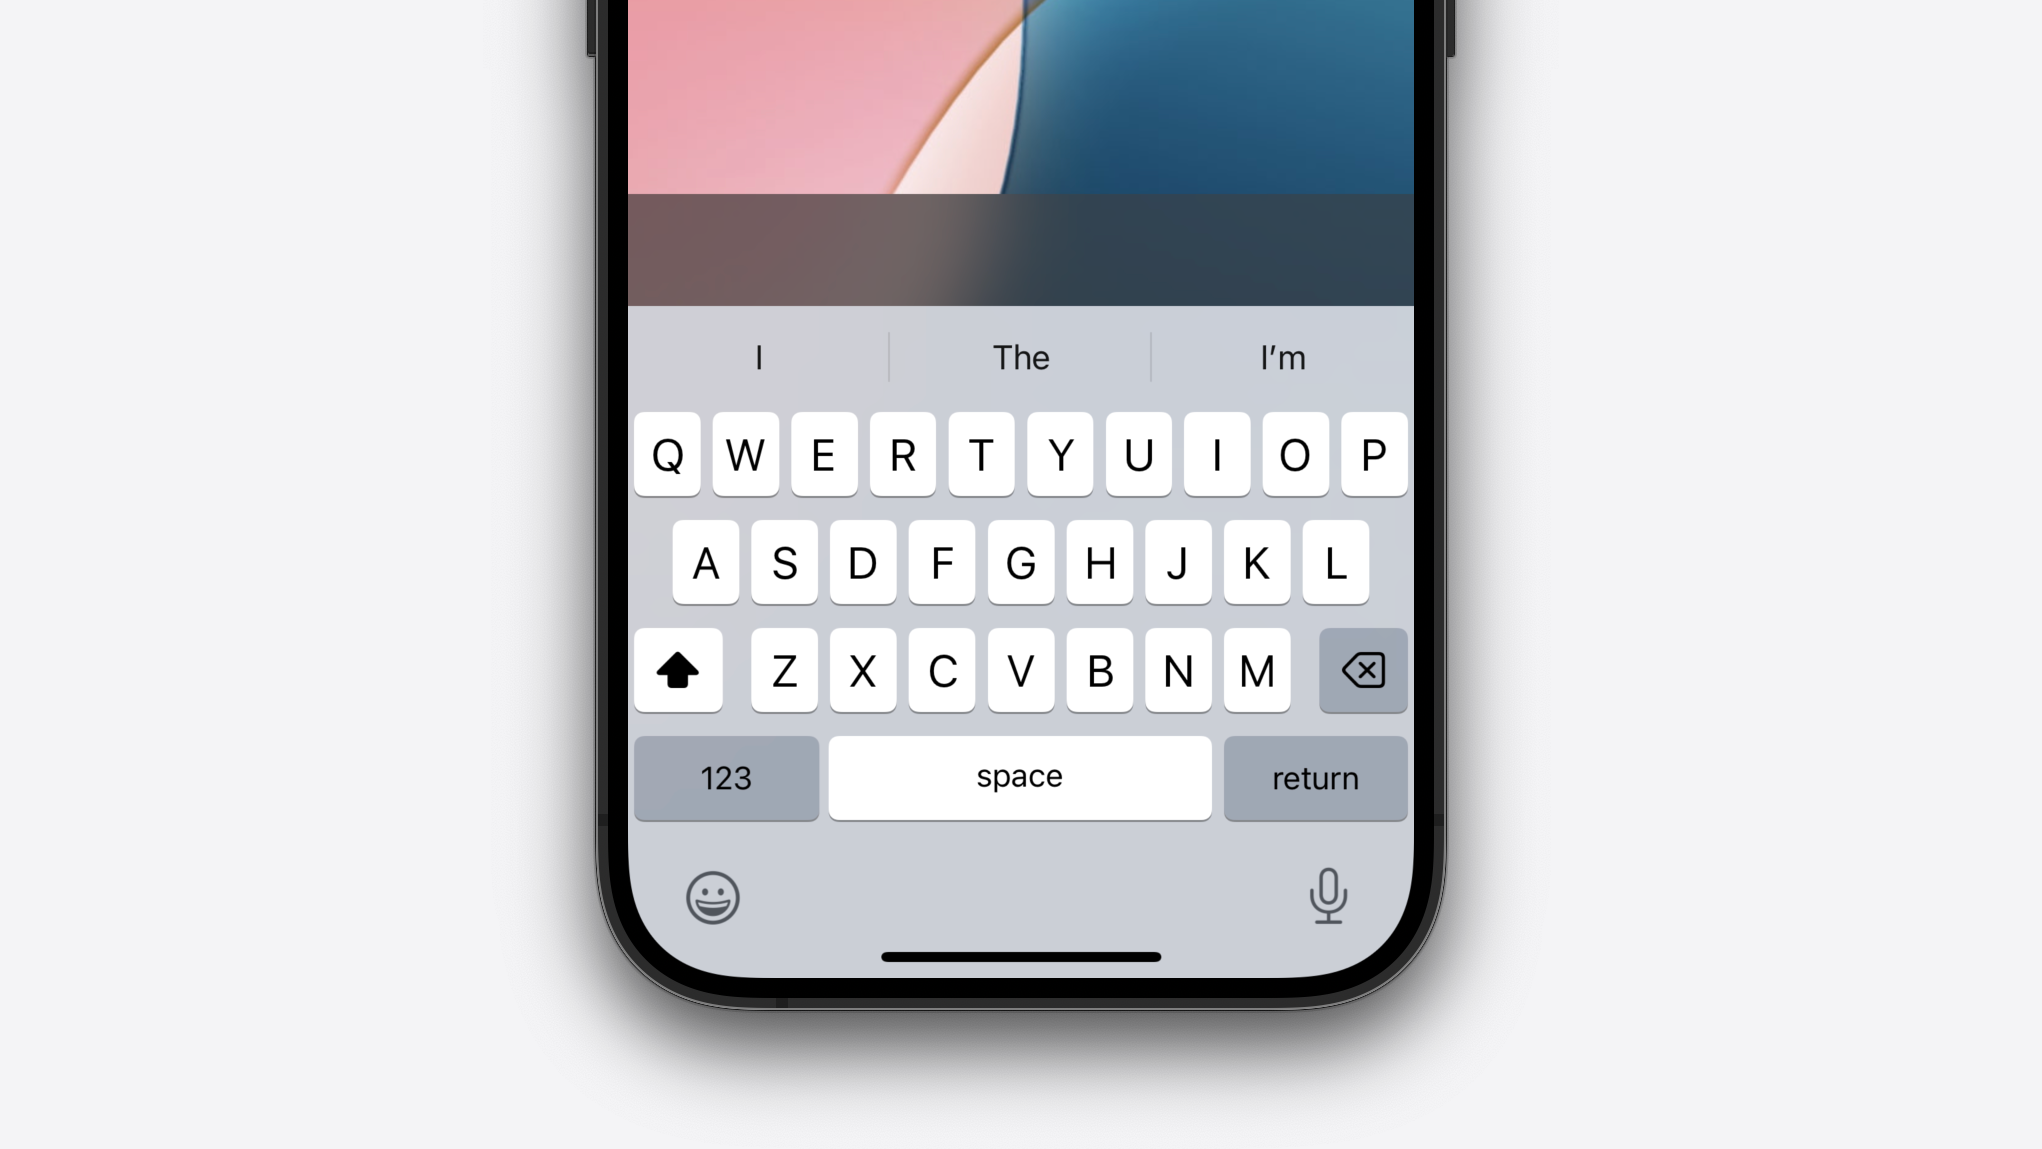
This will create an empty text field in our view controller, with the placeholder string “Search”. If we build and run our project, and focus the text field... Bingo! Our breakpoint is hit and the program's execution is paused. We can then use the Xcode console find some interesting information. Let's run the following LLDB command...
(lldb) po $arg1
This will print the first argument passed into our function. However, this is Objective-C we're dealing with, not Swift. The Objective-C runtime dispatches method calls using the objc_msgSend function. This function takes several parameters. The first, $arg1, is a pointer to the object receiving the message, in this case UIKBBackdropView. The second, $arg2, is the selector that should handle the received message, in this case initWithFrame:style:. After that, $arg3, $arg4, etc., are the parameters passed into the function, in order. So, let's print $arg3 and $arg4, the value of the frame and style parameters, with the following commands...
(lldb) po $arg3
(lldb) po $arg4
The first command logs "2030", and the second "26". Great! So our desired style parameter is 26! Not quite... Remember, the first parameter frame was meant to be of type CGRect, and LLDB spat out "2030" not "CGRect (0 0; 393 336);", for example. From this, we can infer that the value passed to the frame parameter was NULL. Therefore, our style constant is probably 2030. We can confirm this by resuming execution of our program, where our breakpoint is hit once more. This time, running the above po commands yielded "2030" and "32", confirming our suspicion. The values "26" and "32" are whatever is in the adjacent memory address to $arg3, we can discard these.
Testing Our Findings
Next, all we need to do is create our own instance of UIKBBackdropView using the initWithFrame:style: initialiser and pass in a CGRect and the long long 2030. We could do this in Swift, but it's ugly and pretty verbose, so let's call on our old friend, Objective-C.
For those unfamiliar, Objective-C, unlike Swift, doesn't have a concept of access control, so there are no keywords like public or private. Instead, you create a header file with the .h extension and declare your object's public interface there. Then, you create a main file with the .m extension which is where your implementation lives. So your header file defines that a class exists, named Foo for example, and that it has a method called bar(). Your main file is where you write the logic for that method. Here's a quick example...
@interface Foo :NSObject
-(void )bar ;
@end

@implementation Foo
-(void )bar {
NSLog (@"Hello, World!" );
}
@end
This behaviour is wonderfully exploitable! Because we have two files, an interface and implementation declaration, they need to be linked, but doing so manually would get cumbersome. So, part of the compilation process is "linking". This process looks at every interface and tries to find a matching implementation. This is where the fun begins! If we create a header file for an object, but no implementation, the linker will look everywhere for one, including in public or even private system frameworks. So, all we need to do, is create a header file for UIKBBackdropView and the linker will match it at build time with its implementation in the UIKitCore framework. Here's what that looks like...
@interface UIKBBackdropView :UIVisualEffectView
-(instancetype )initWithFrame :(CGRect )arg1style :(long long )arg2;
@end
We all know that old == bad, right? So let's create an Objective-C bridging header, and get back to the syntactically much sexier land of Swift. I won't cover how to do that here because this article is getting long enough, but Apple's Importing Objective-C into Swift article is your friend!
#import "UIKBBackdropView.h"
Now, we can create an instance of UIKBBackdropView as if it were any other publically available UIKit class...
override func viewDidLoad () {
super .viewDidLoad ()
let visualEffectView =UIKBBackdropView (frame : .zero ,style :2030 )
visualEffectView.translatesAutoresizingMaskIntoConstraints =false
view .addSubview (visualEffectView)
NSLayoutConstraint .activate ([
visualEffectView.topAnchor .constraint (equalTo :view .keyboardLayoutGuide .topAnchor ,constant : -56 ),
visualEffectView.leadingAnchor .constraint (equalTo :view .leadingAnchor ),
visualEffectView.trailingAnchor .constraint (equalTo :view .trailingAnchor ),
visualEffectView.bottomAnchor .constraint (equalTo :view .bottomAnchor )
])
}
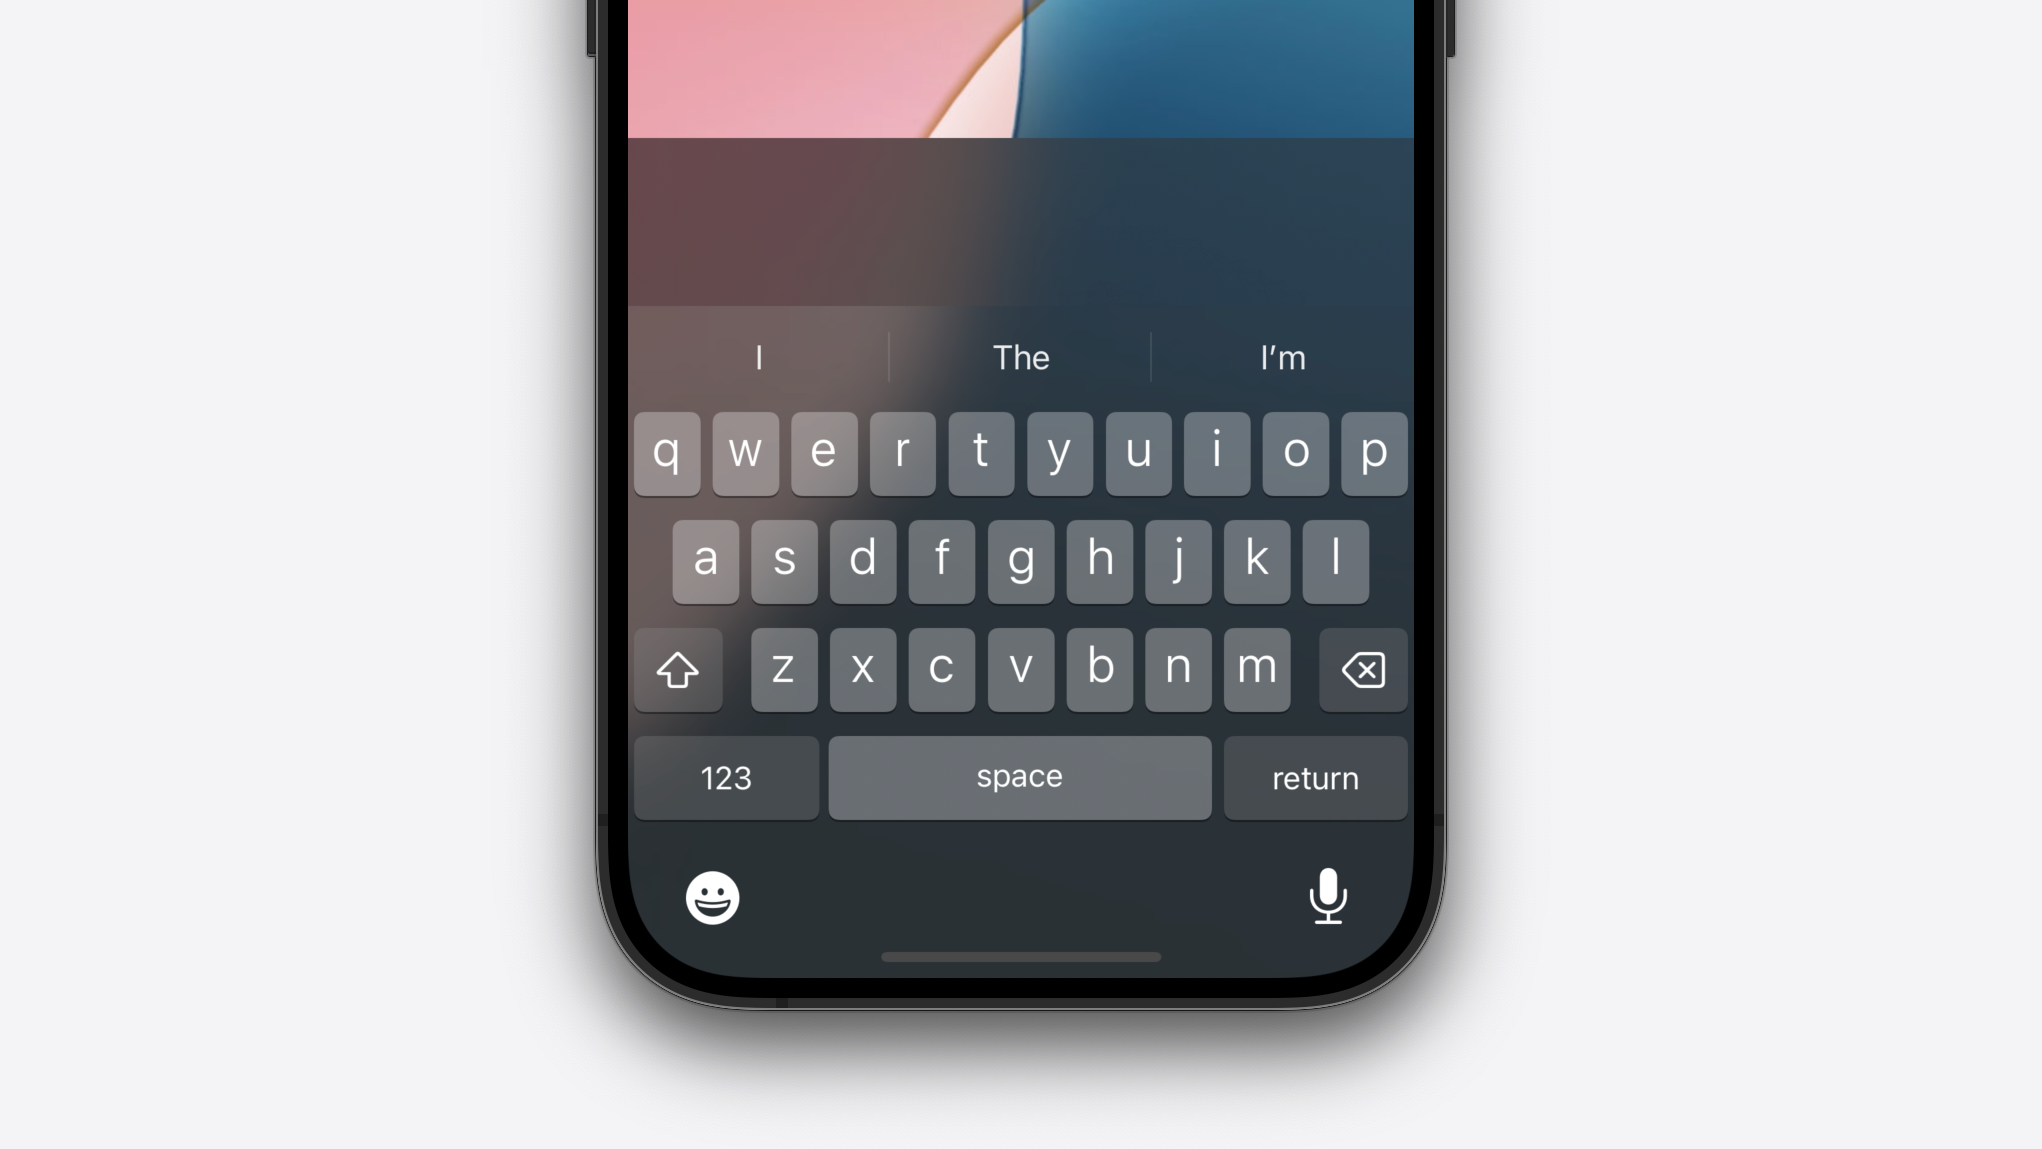
This is what we get...

Great! Everything seems to be working nicely. But, switch the simulator to light mode and a problem presents itself... The backdrop view doesn't adapt to the current user interface style. So, what can we do?
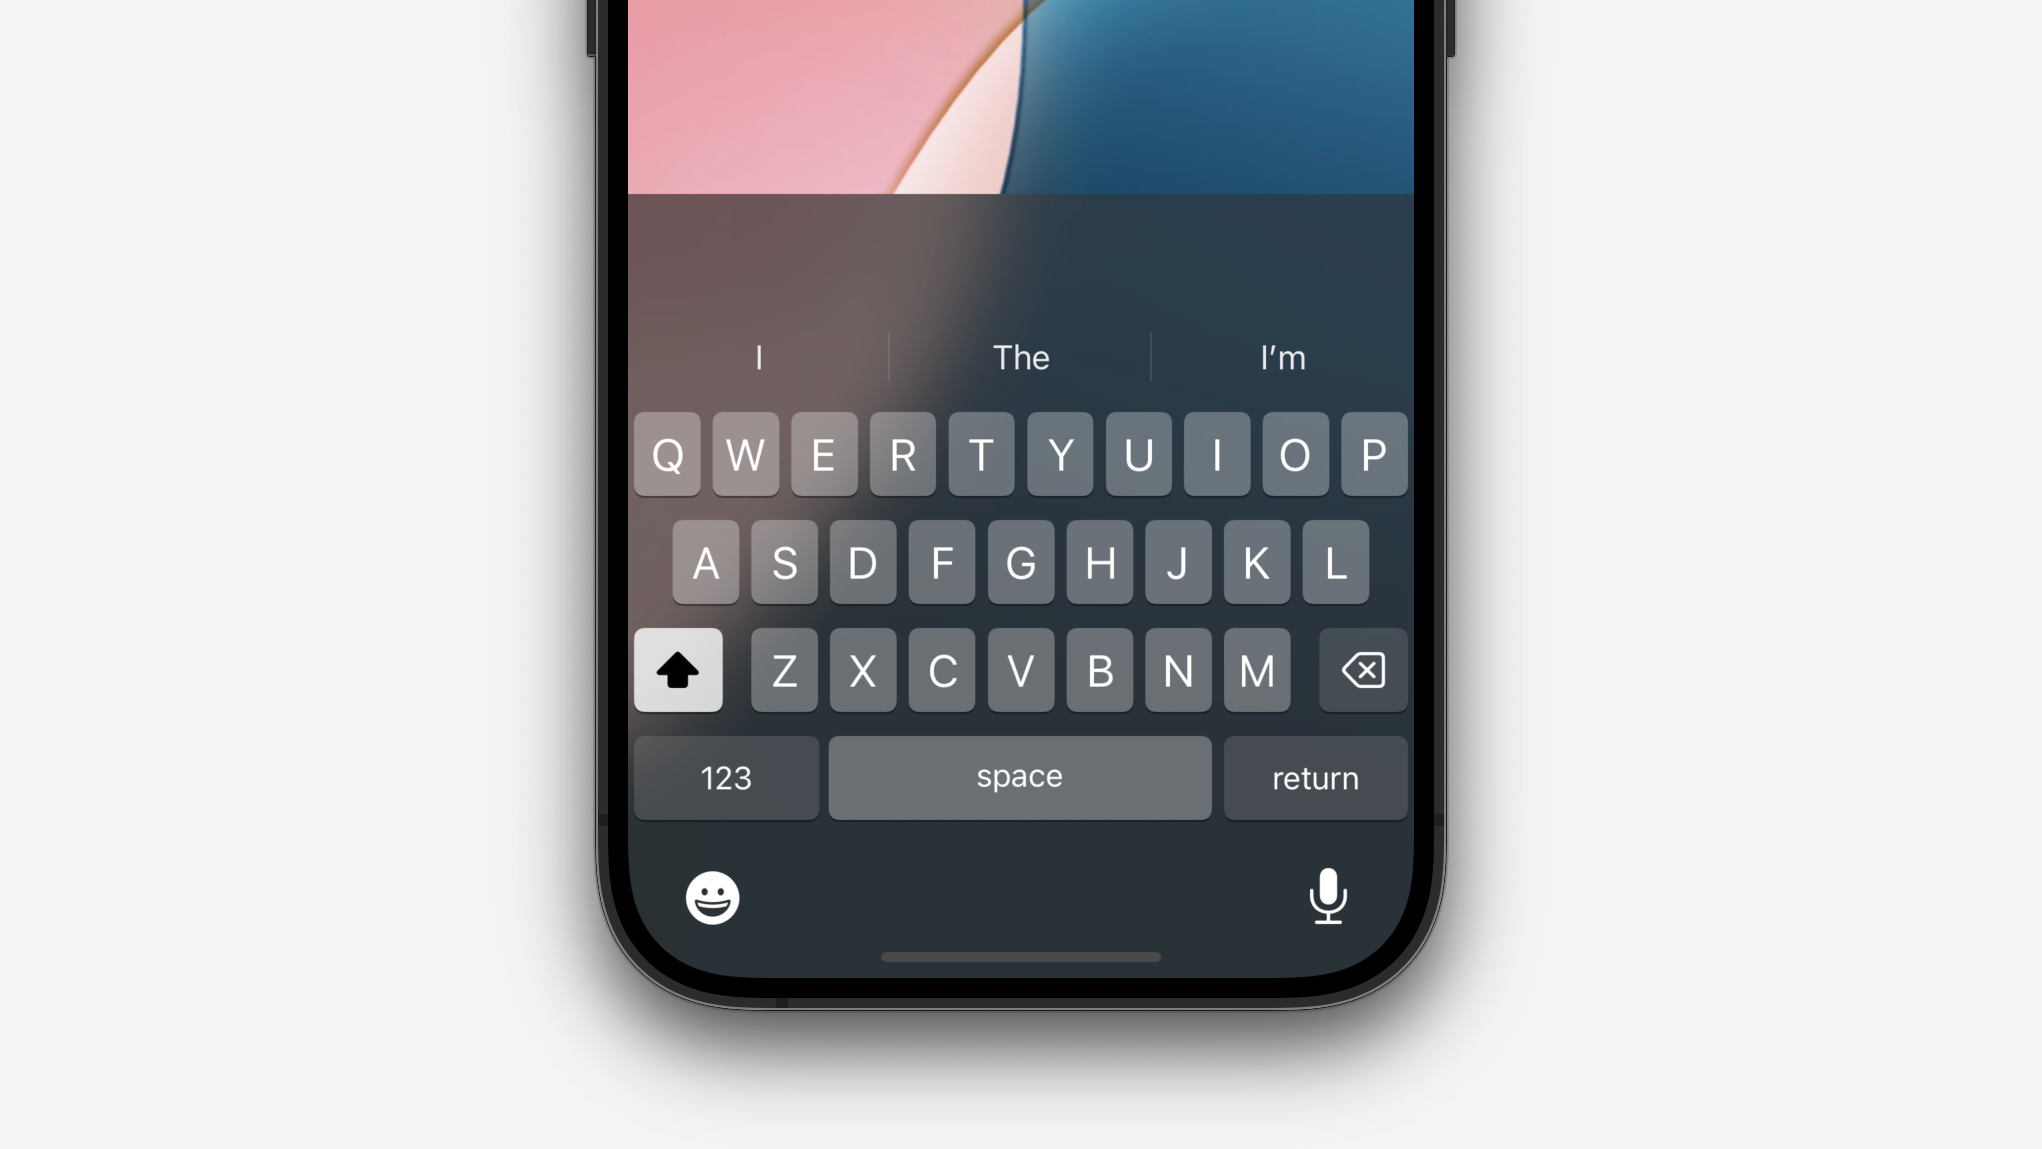
Building the project with the simulator already in light mode reveals that this isn't an issue with the backdrop view adapting to the change in user interface style, but perhaps an issue with the backdrop style itself.
Earlier, we set up a text field and a symbolic breakpoint for -[UIKBBackdropView initWithFrame:style:]. Doing so again and focussing the text field triggers our breakpoint, and printing $arg3 in the Xcode console reveals a new value, 3901. If we update our code in viewDidLoad() to use this style, we get our backdrop view working in light mode.
But now we've got the opposite problem, everything looks as expected in dark mode but not in light mode.
override func viewDidLoad () {
super .viewDidLoad ()
let visualEffectView =UIKBBackdropView (frame : .zero ,style :3901 )
visualEffectView.translatesAutoresizingMaskIntoConstraints =false
view .addSubview (visualEffectView)
NSLayoutConstraint .activate ([
visualEffectView.topAnchor .constraint (equalTo :view .keyboardLayoutGuide .topAnchor ,constant : -56 ),
visualEffectView.leadingAnchor .constraint (equalTo :view .leadingAnchor ),
visualEffectView.trailingAnchor .constraint (equalTo :view .trailingAnchor ),
visualEffectView.bottomAnchor .constraint (equalTo :view .bottomAnchor )
])
}
One solution could be to tear down the backdrop view and create a new instance with the appropriate style whenever the user interface style of a view or view controller's trait collection changes. But, this is a bit of a hack, and we can tell this isn't how UIKeyboard handles it as our -[UIKBBackdropView initWithFrame:style:] break point isn't hit every time the user interface style changes. So, back to the class-dumped headers!
There's one method in there that is of particular interest, -(void)transitionToStyle:(long long)arg1;, this sounds like it could be exactly what we need. So let's update our header file that we made for UIKBBackdropView...
@interface UIKBBackdropView :UIVisualEffectView
-(instancetype )initWithFrame :(CGRect )arg1style :(long long )arg2;
-(void )transitionToStyle :(long long )arg1;
@end
To test this, let's update our viewDidLoad() method again.
override func viewDidLoad () {
super .viewDidLoad ()
let visualEffectView =UIKBBackdropView (frame : .zero ,style :2030 )
visualEffectView.transition(toStyle:3901 )
visualEffectView.translatesAutoresizingMaskIntoConstraints =false
view .addSubview (visualEffectView)
NSLayoutConstraint .activate ([
visualEffectView.topAnchor .constraint (equalTo :view .keyboardLayoutGuide .topAnchor ,constant : -56 ),
visualEffectView.leadingAnchor .constraint (equalTo :view .leadingAnchor ),
visualEffectView.trailingAnchor .constraint (equalTo :view .trailingAnchor ),
visualEffectView.bottomAnchor .constraint (equalTo :view .bottomAnchor )
])
}
In the code above, we initialise the backdrop view with the style 2030 (dark mode) and then immediately update it to 3901 (light mode). Build and run, and boom! The backdrop view is displaying its light mode variant, meaning we've initialised it with its dark style and successfully transitioned to its light style.
Let's implement this properly...
class UIKBVisualEffectView :UIKBBackdropView {
override func traitCollectionDidChange (_ previousTraitCollection:UITraitCollection ?) {
super .traitCollectionDidChange (previousTraitCollection)
transition(toStyle:traitCollection .userInterfaceStyle == .dark ?2030 :3901 )
}
}
Here, we create a subclass of UIKBBackdropView called UIKBVisualEffectView, you can call this whatever you want. Then, we override the traitCollectionDidChange(_:) method, which is inherited from UIVIew, to listen for changes in the interface environment. Inside this method, we call UIKBBackdropView's transition(to:) method, passing in a parameter of either 2030 or 3901 depending on the trait collection's userInterfaceStyle property.
If we replace our instance of UIKBBackdropView with our new UIKBVisualEffectView class, this is what we get...
This is where our reverse engineering is complete! From here, there's only a couple of things left to do. The first is to create the custom search bar and embed it in our UIKBVisualEffectView. The second is to create a simple search view controller to house our custom search bar. Because these two things are all achievable with public API, I won't bore you with the implementation details, but here's what that could look like...
If you're interested in the specific implementation details of the example above, here's a link to the GitHub repository: https://github.com/sebjvidal/Photos-Search-UI-Demo.
So, there it is! We've successfully reverse engineered (part of) the Photos app's redesigned search UI. If you enjoyed this or found it helpful, let me know over on Twitter, and feel free to give me a shout if there are other areas of iOS 18 that you'd like to see picked apart.
Until next time...