
UIAlertController was added to UIKit in iOS 8, but alerts have been with us since the dawn of the SDK in the form of the now deprecated UIAlertView. However, 17 years later, not much has changed. We did see the introduction of text field support in iOS 5 but Apple's customisation of alerts throughout the system runs much deeper than that!
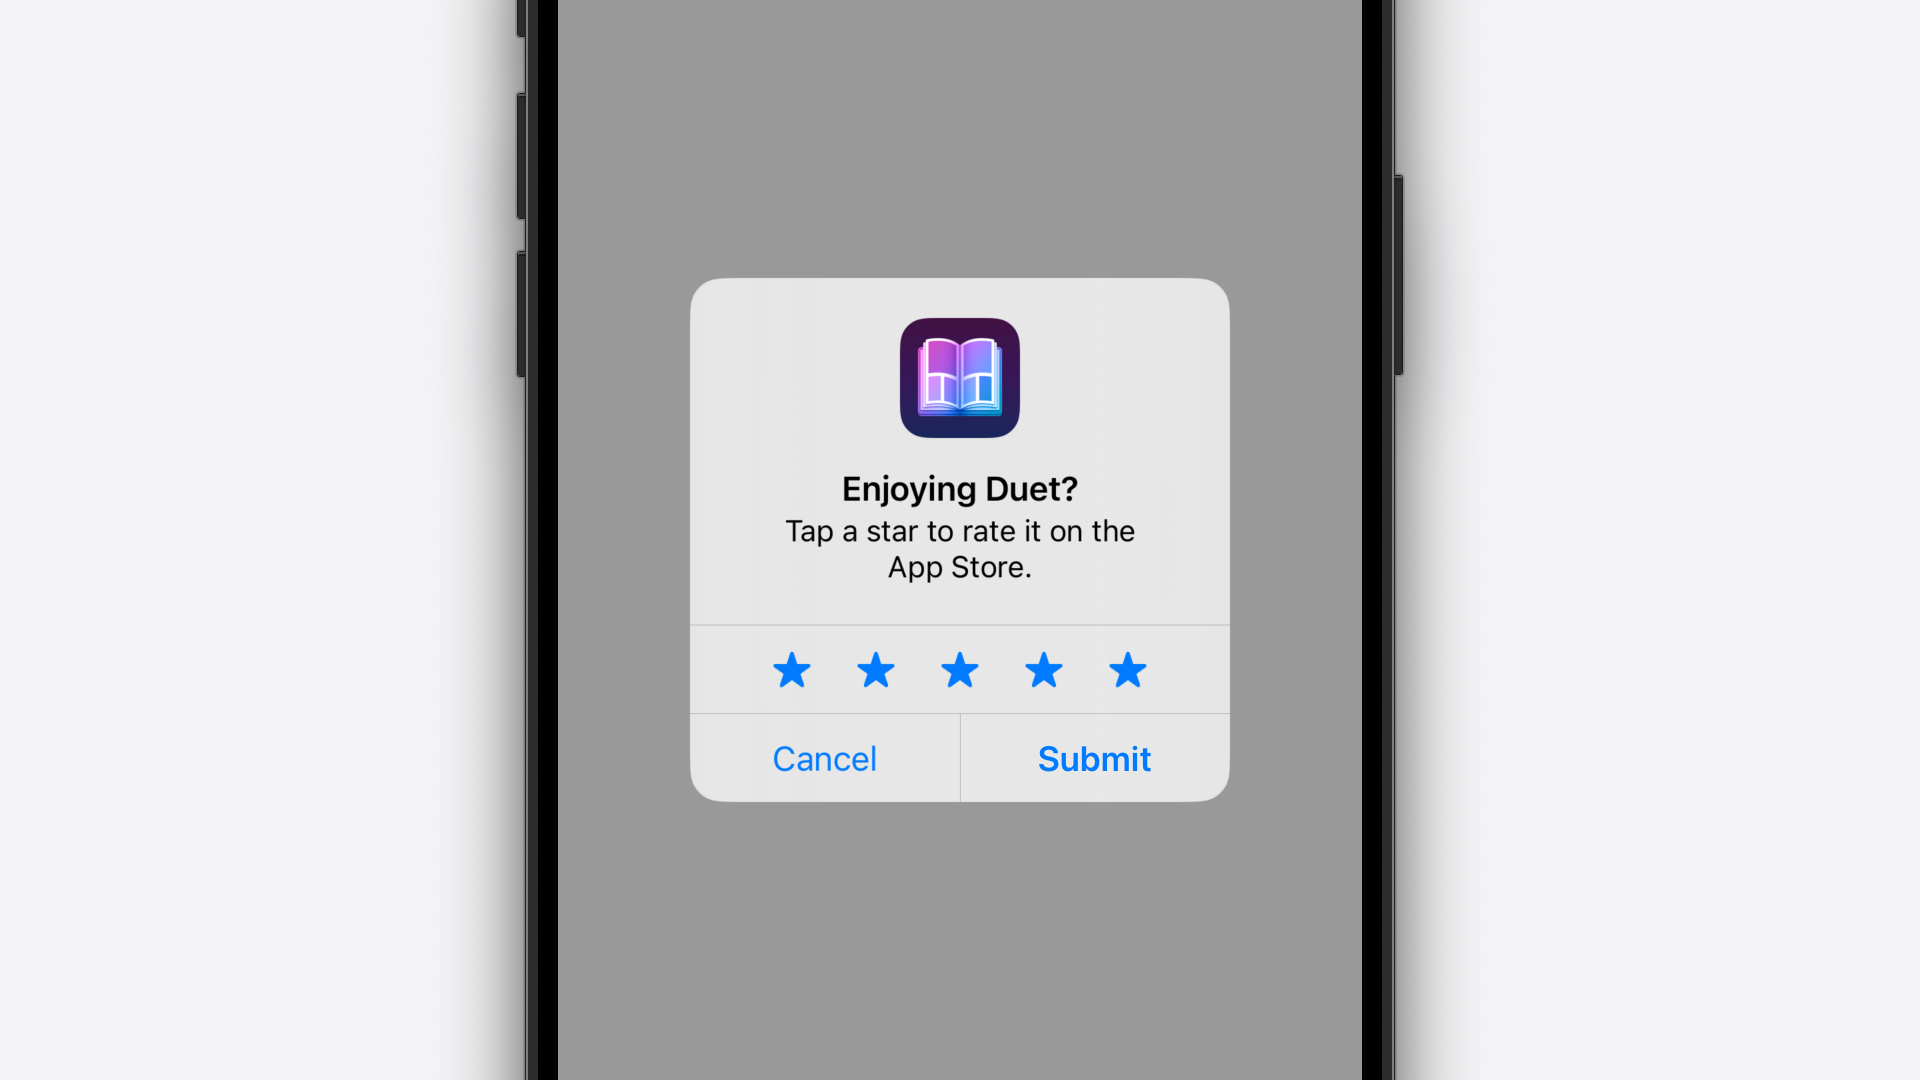
One such example is Apple's alert presented when calling StoreKit's AppStore.requestReview(in:) method. This method, when called, presents an alert controller prompting the user to review your app in the App Store. Notably, it displays your app icon as a header, and has a custom alert action allowing you to select your star rating.
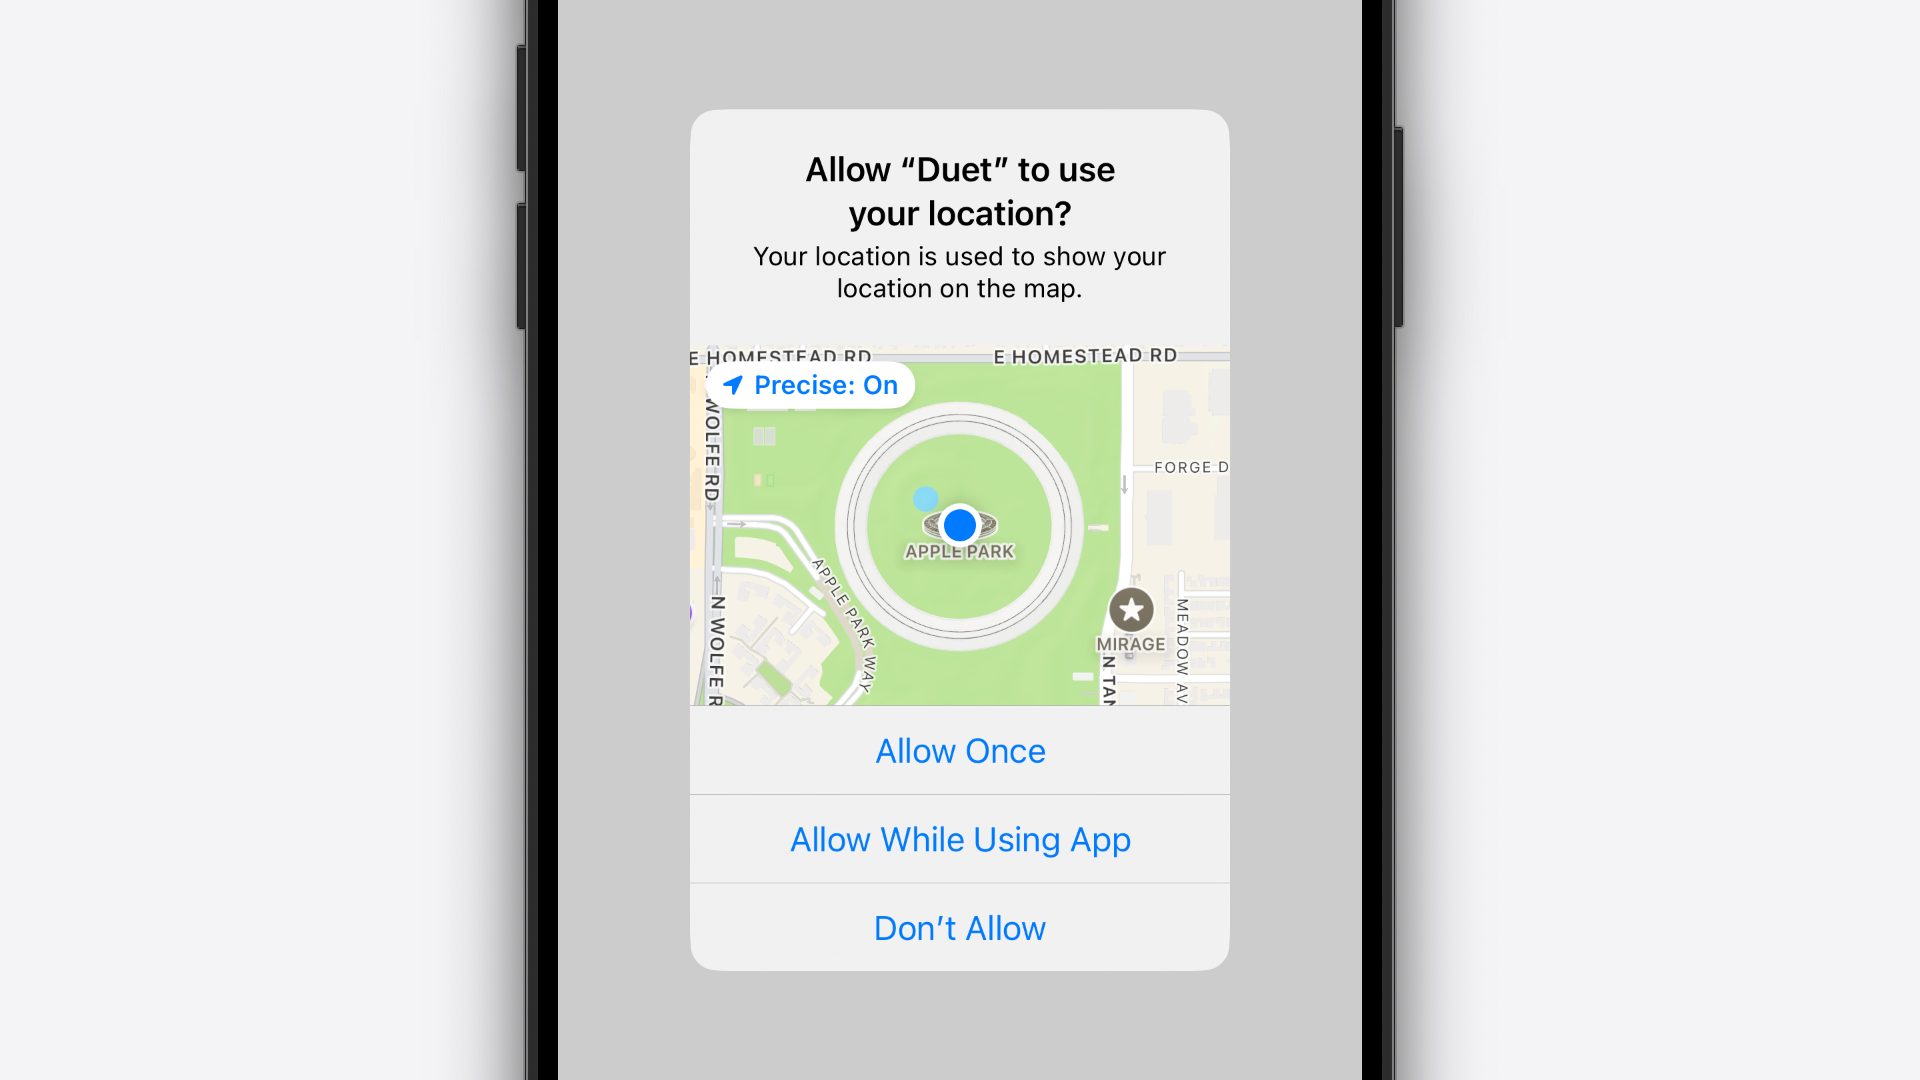
Another example is the system alert displayed when an app requests to access your location, this time showing the usual title and message, but also a map view with your current location.
In this article, we're going to explore a handful of private UIAlertController and UIAlertAction APIs to achieve exactly these effects for you to use in your apps that you definitely won't ship to the App Store...
Header Content View Controller
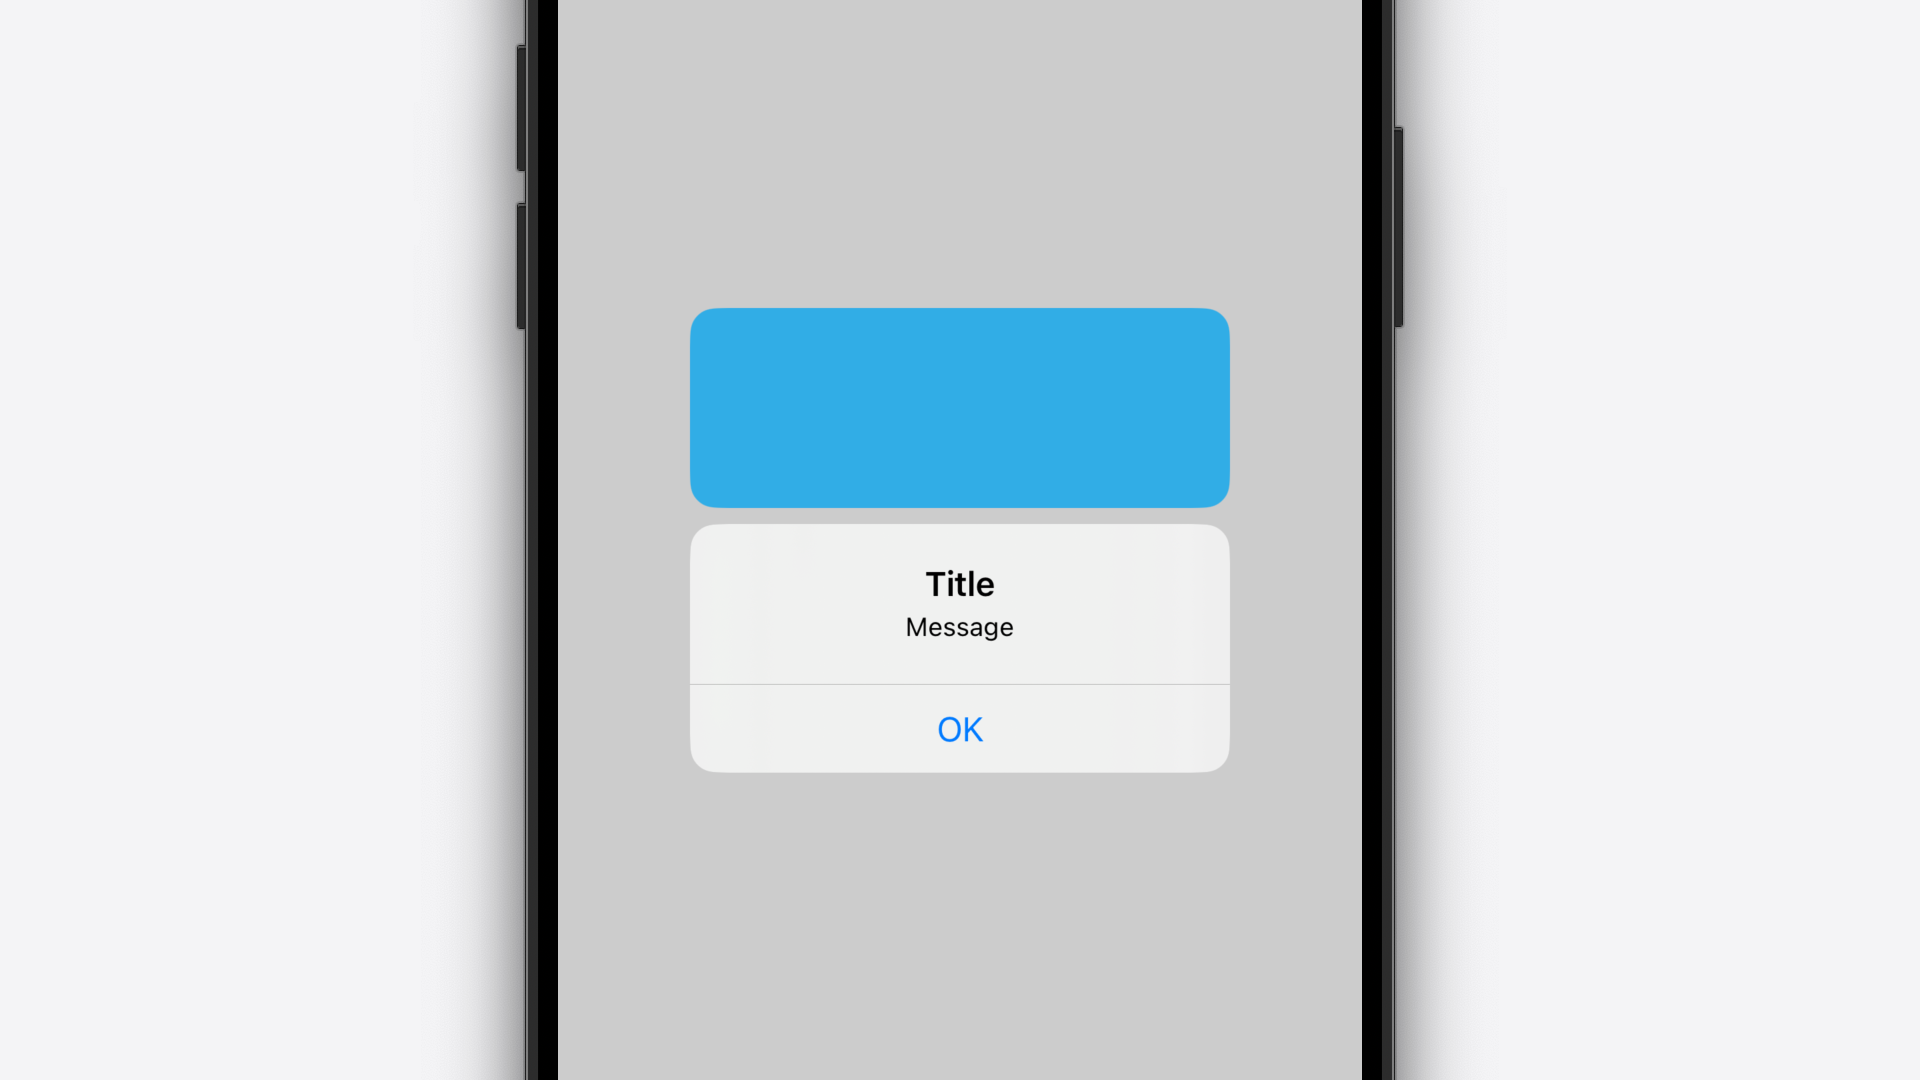
The first API we're going to dive into is -[UIAlertController _headerContentViewController] and its corresponding -[UIAlertController _setHeaderContentViewController] method. These APIs do exactly what they say on the tin, they let you get and set the header content view controller. This is how Apple shows your app icon in StoreKit's review request alert.
Here's a handy Swift extension so you can get and set this property on any UIAlertController throughout your codebase...

extension UIAlertController {
var headerContentViewController :UIViewController ? {
get {
let key ="_headerContentViewController"
let selector =NSSelectorFromString (key)
guard responds (to : selector)else {return nil }
return value (forKey : key)as ?UIViewController
}set {
let selector =NSSelectorFromString ("_setHeaderContentViewController:" )
guard responds (to : selector)else {return }
perform (selector,with : newValue)
}
}
}
To summarise, we've declared a new property in an extension of UIAlertController called headerContentViewController with a custom getter and setter.
The getter creates a Selector from the provided key string, checks that UIAlertController responds to said selector, then returns the value associated with our key string, casting it to the type of UIViewController.
The setter also creates a Selector from the provided string and checks that UIAlertController responds to it. If it does, it calls the perform(_:with:) method which calls the function identified by our selector, passing in the value of the with parameter as the first argument.
Here's how you'd use our new property...
class ViewController :UIViewController {
override func viewDidAppear (_ animated:Bool ) {
super .viewDidAppear (animated)
let headerViewController =AppIconViewController ()
let okAction =UIAlertAction (title :"OK" ,style : .default)
let alertController =UIAlertController (title :"Title" ,message :"Message" ,preferredStyle : .alert)
alertController.headerContentViewController = headerViewController
alertController.addAction (okAction)
present (alertController,animated :true )
}
}
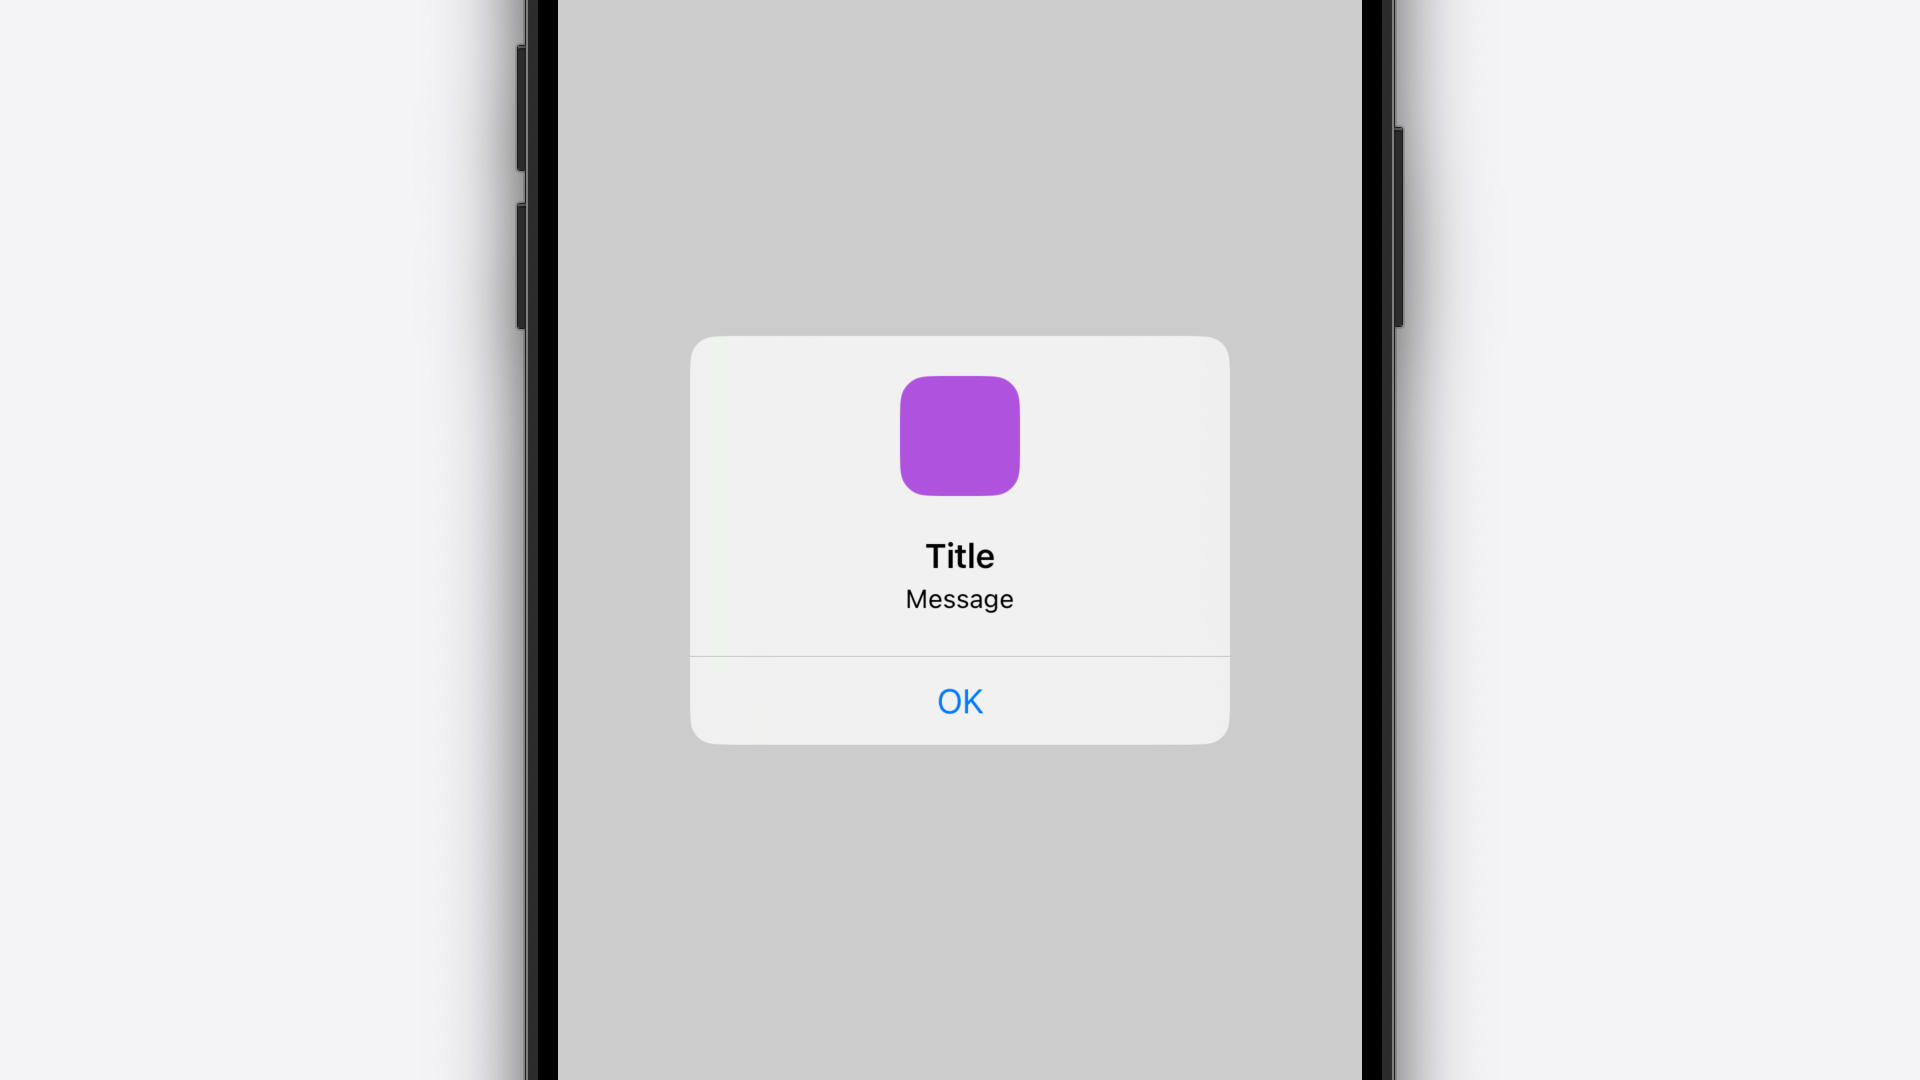
A couple of important things to note:
- UIKit places our view right at the top of the alert. So, in the example above, I've inset the rounded rectangle 20 points from the header content view's top anchor for a bit of padding.
- The size of the header content view is determined by its constraints. So, in this instance, anchoring the 60 point tall rounded rectangle to the header content view's top anchor, with 20 points of padding, and anchoring the bottom of the rounded rectangle to the bottom of the header content view, results in our header content view being 80 points tall.
Content View Controller
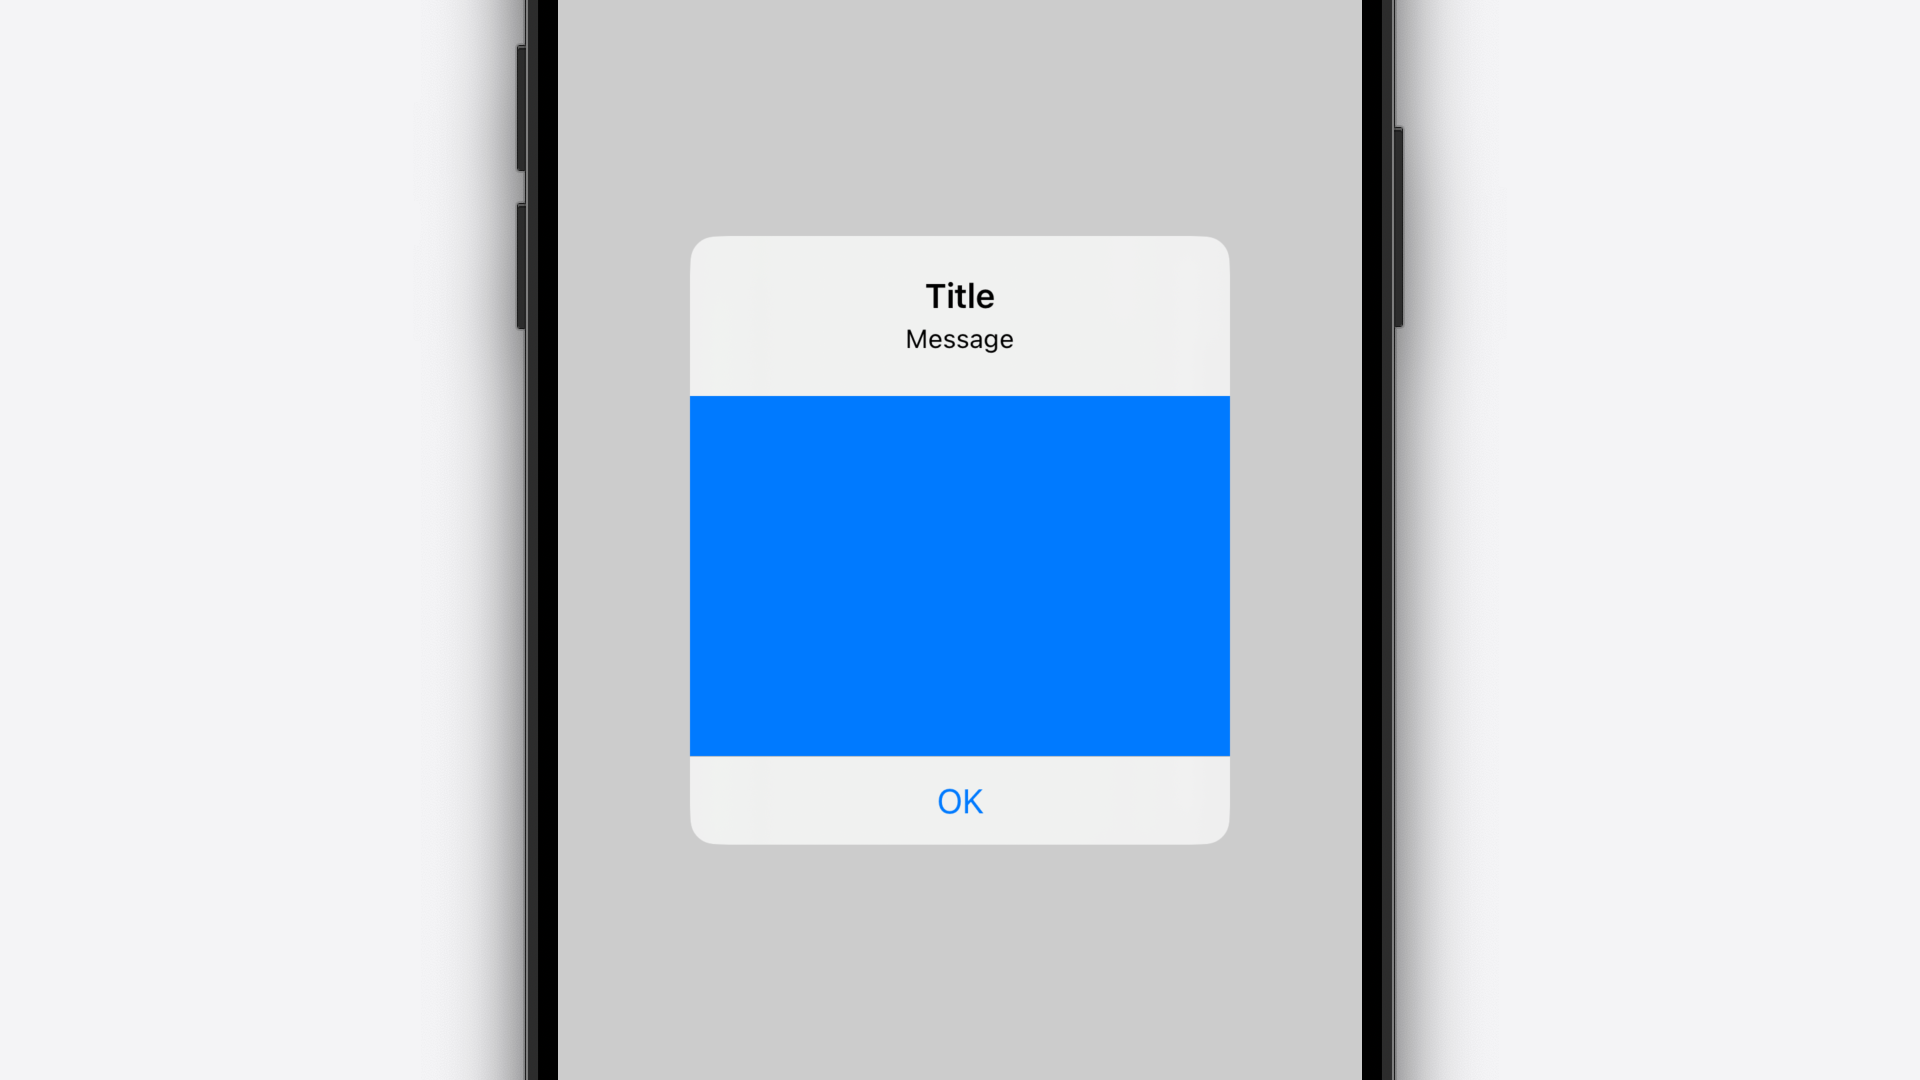
Much like the aforementioned _headerContentViewController property, contentViewController allows you to add a totally custom view to the alert, this time underneath the title and message text. This is how Apple shows a map view with your current location in the alert presented when an app requests your location.
Here's another handy extension for getting and setting this private property...
extension UIAlertController {
var contentViewController :UIViewController ? {
get {
let key ="contentViewController"
let selector =NSSelectorFromString (key)
guard responds (to : selector)else {return nil }
return value (forKey : key)as ?UIViewController
}set {
let selector =NSSelectorFromString ("setContentViewController:" )
guard responds (to : selector)else {return }
perform (selector,with : newValue)
}
}
}
Here's how you'd use our new contentViewController property...
class ViewController :UIViewController {
override func viewDidAppear (_ animated:Bool ) {
super .viewDidAppear (animated)
let contentViewController =ContentViewController ()
let okAction =UIAlertAction (title :"OK" ,style : .default)
let alertController =UIAlertController (title :"Title" ,message :"Message" ,preferredStyle : .alert)
alertController.contentViewController = contentViewController
alertController.addAction (okAction)
present (alertController,animated :true )
}
}
Separated Header Content View Controller?
So...uh... I've never seen this used anywhere in iOS and I have no idea why you'd want to use this but I found this property, thought it was cool, and maybe you do have a use case for it! So here's _separatedHeaderContentViewController...
Here's your extension...
extension UIAlertController {
var separatedHeaderContentViewController :UIViewController ? {
get {
let key ="_separatedHeaderContentViewController"
let selector =NSSelectorFromString (key)
guard responds (to : selector)else {return nil }
return value (forKey : key)as ?UIViewController
}set {
let selector =NSSelectorFromString ("_setSeparatedHeaderContentViewController:" )
guard responds (to : selector)else {return }
perform (selector,with : newValue)
}
}
}
And, at this point you know how to use it, but for the sake of completeness...
class ViewController :UIViewController {
override func viewDidAppear (_ animated:Bool ) {
super .viewDidAppear (animated)
let separatedHeaderContentViewController =SeparatedHeaderContentViewController ()
let okAction =UIAlertAction (title :"OK" ,style : .default)
let alertController =UIAlertController (title :"Title" ,message :"Message" ,preferredStyle : .alert)
alertController.separatedHeaderContentViewController = separatedHeaderContentViewController
alertController.addAction (okAction)
present (alertController,animated :true )
}
}
Action With Content View Controller
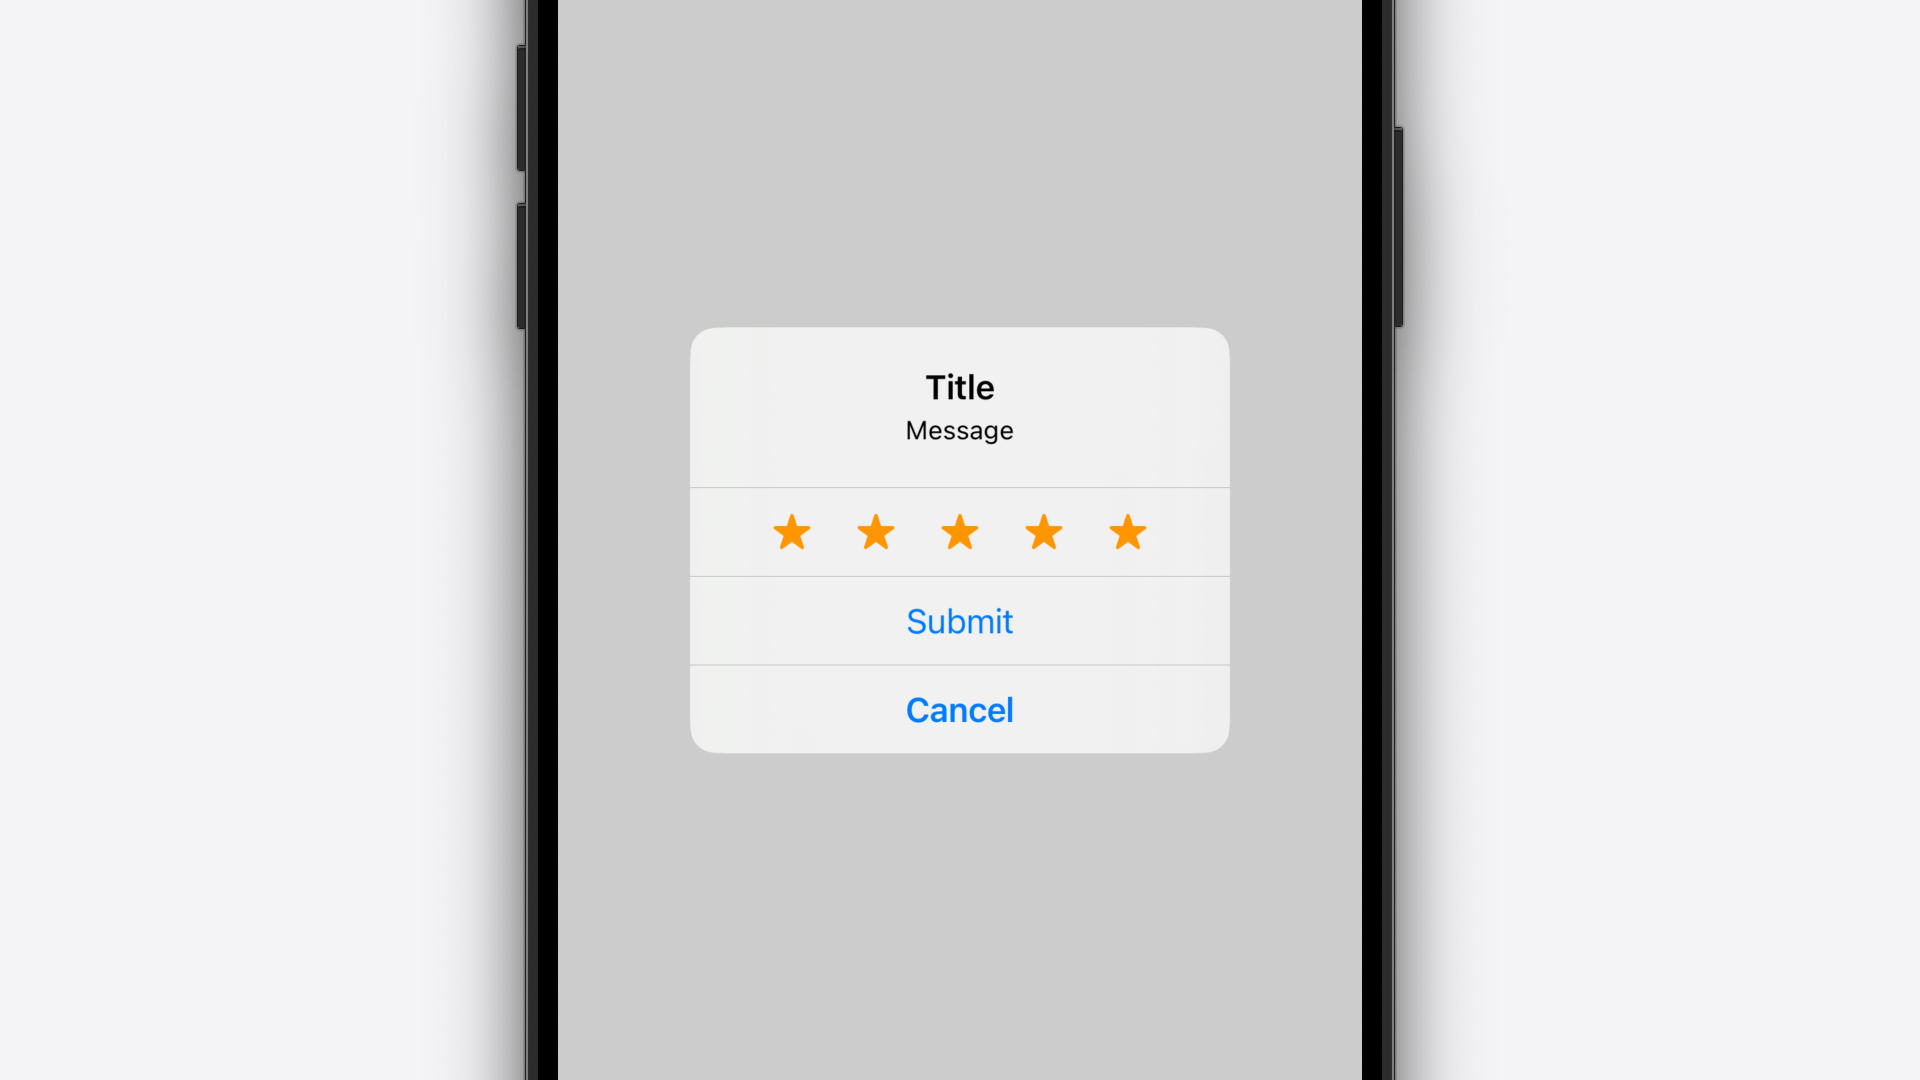
The final private UIAlertController-related API we're going to discuss today is UIAlertAction's _actionWithContentViewController:style:handler:. This is a class method of UIAlertAction that returns an action with a custom content view, the specified UIAlertAction.Style and, optionally, a handler block.
At first glance, I assumed that this was how Apple was implementing the star rating button in the alert shown when requesting a review with AppStore.requestReview(in:). However, given the arrangement of the other alert action buttons and the fact that this star rating control is interactive, they're probably just using the contentViewController API for this. Here's some not very pretty Swift code that allows you to call this private initialiser...
extension UIAlertAction {
static func action (contentViewController :UIViewController ,style :Style ,handler :Handler ? =nil ) ->UIAlertAction ? {
let selector =NSSelectorFromString ("_actionWithContentViewController:style:handler:" )
guard responds (to : selector)else {return nil }
let implementation =method (for : selector)
let method =unsafeBitCast (implementation,to :ActionWithContentViewControllerStyleHandler .self )
return method(UIAlertAction .self , selector, contentViewController, style, handler)
}
private typealias ActionWithContentViewControllerStyleHandler =@convention (c) (NSObject .Type ,Selector ,UIViewController ,Style ,Handler ?) ->UIAlertAction
typealias Handler =@convention (block) (UIAlertAction ) ->Void
}
And here's an example implementation...
class ViewController :UIViewController {
override func viewDidAppear (_ animated:Bool ) {
super .viewDidAppear (animated)
let ratingViewController =RatingViewController ()
let ratingAction =UIAlertAction .action (contentViewController : ratingViewController,style : .default) { actionin
// Do something...
}!
let cancelAction =UIAlertAction (title :"Cancel" ,style : .cancel)
let submitAction =UIAlertAction (title :"Submit" ,style : .default)
let alertController =UIAlertController (title :"Title" ,message :"Message" ,preferredStyle : .alert)
alertController.addAction (ratingAction)
alertController.addAction (cancelAction)
alertController.addAction (submitAction)
present (alertController,animated :true )
}
}
Important
For simplicity, in the example above, I'm force unwrapping the result of the call toUIAlertAction.action(contentViewController:style:handler:) - this is an awful idea. If you're going to use this in production apps, safely unwrap the optional value as, in the future, the API may change or be removed entirely, causing a crash. Finally, here's what that looks like...
Conclusion
There you have it! Now, you can control UIAlertController, instead of UIAlertController controlling you. As always, if you've got any questions or you want to complain about this API being behind closed doors, feel free to hit me up on Twitter.
Until next time...